
Capturing the reference image
During the inspection with the EyeC ProofRunner, a reference image previously selected by the user is compared with the ups on the belt. This reference image must first be selected.
| NOTICE | |
|---|---|
-
Start the inspection by clicking on the Start Inspection button.
 The inspection begins. You can find more information about the inspection process in the chapter Inspection.Note:
There is also a possibility to evaluate the results of the test during the inspection.
NOTICE During the inspection process, you see the following display.
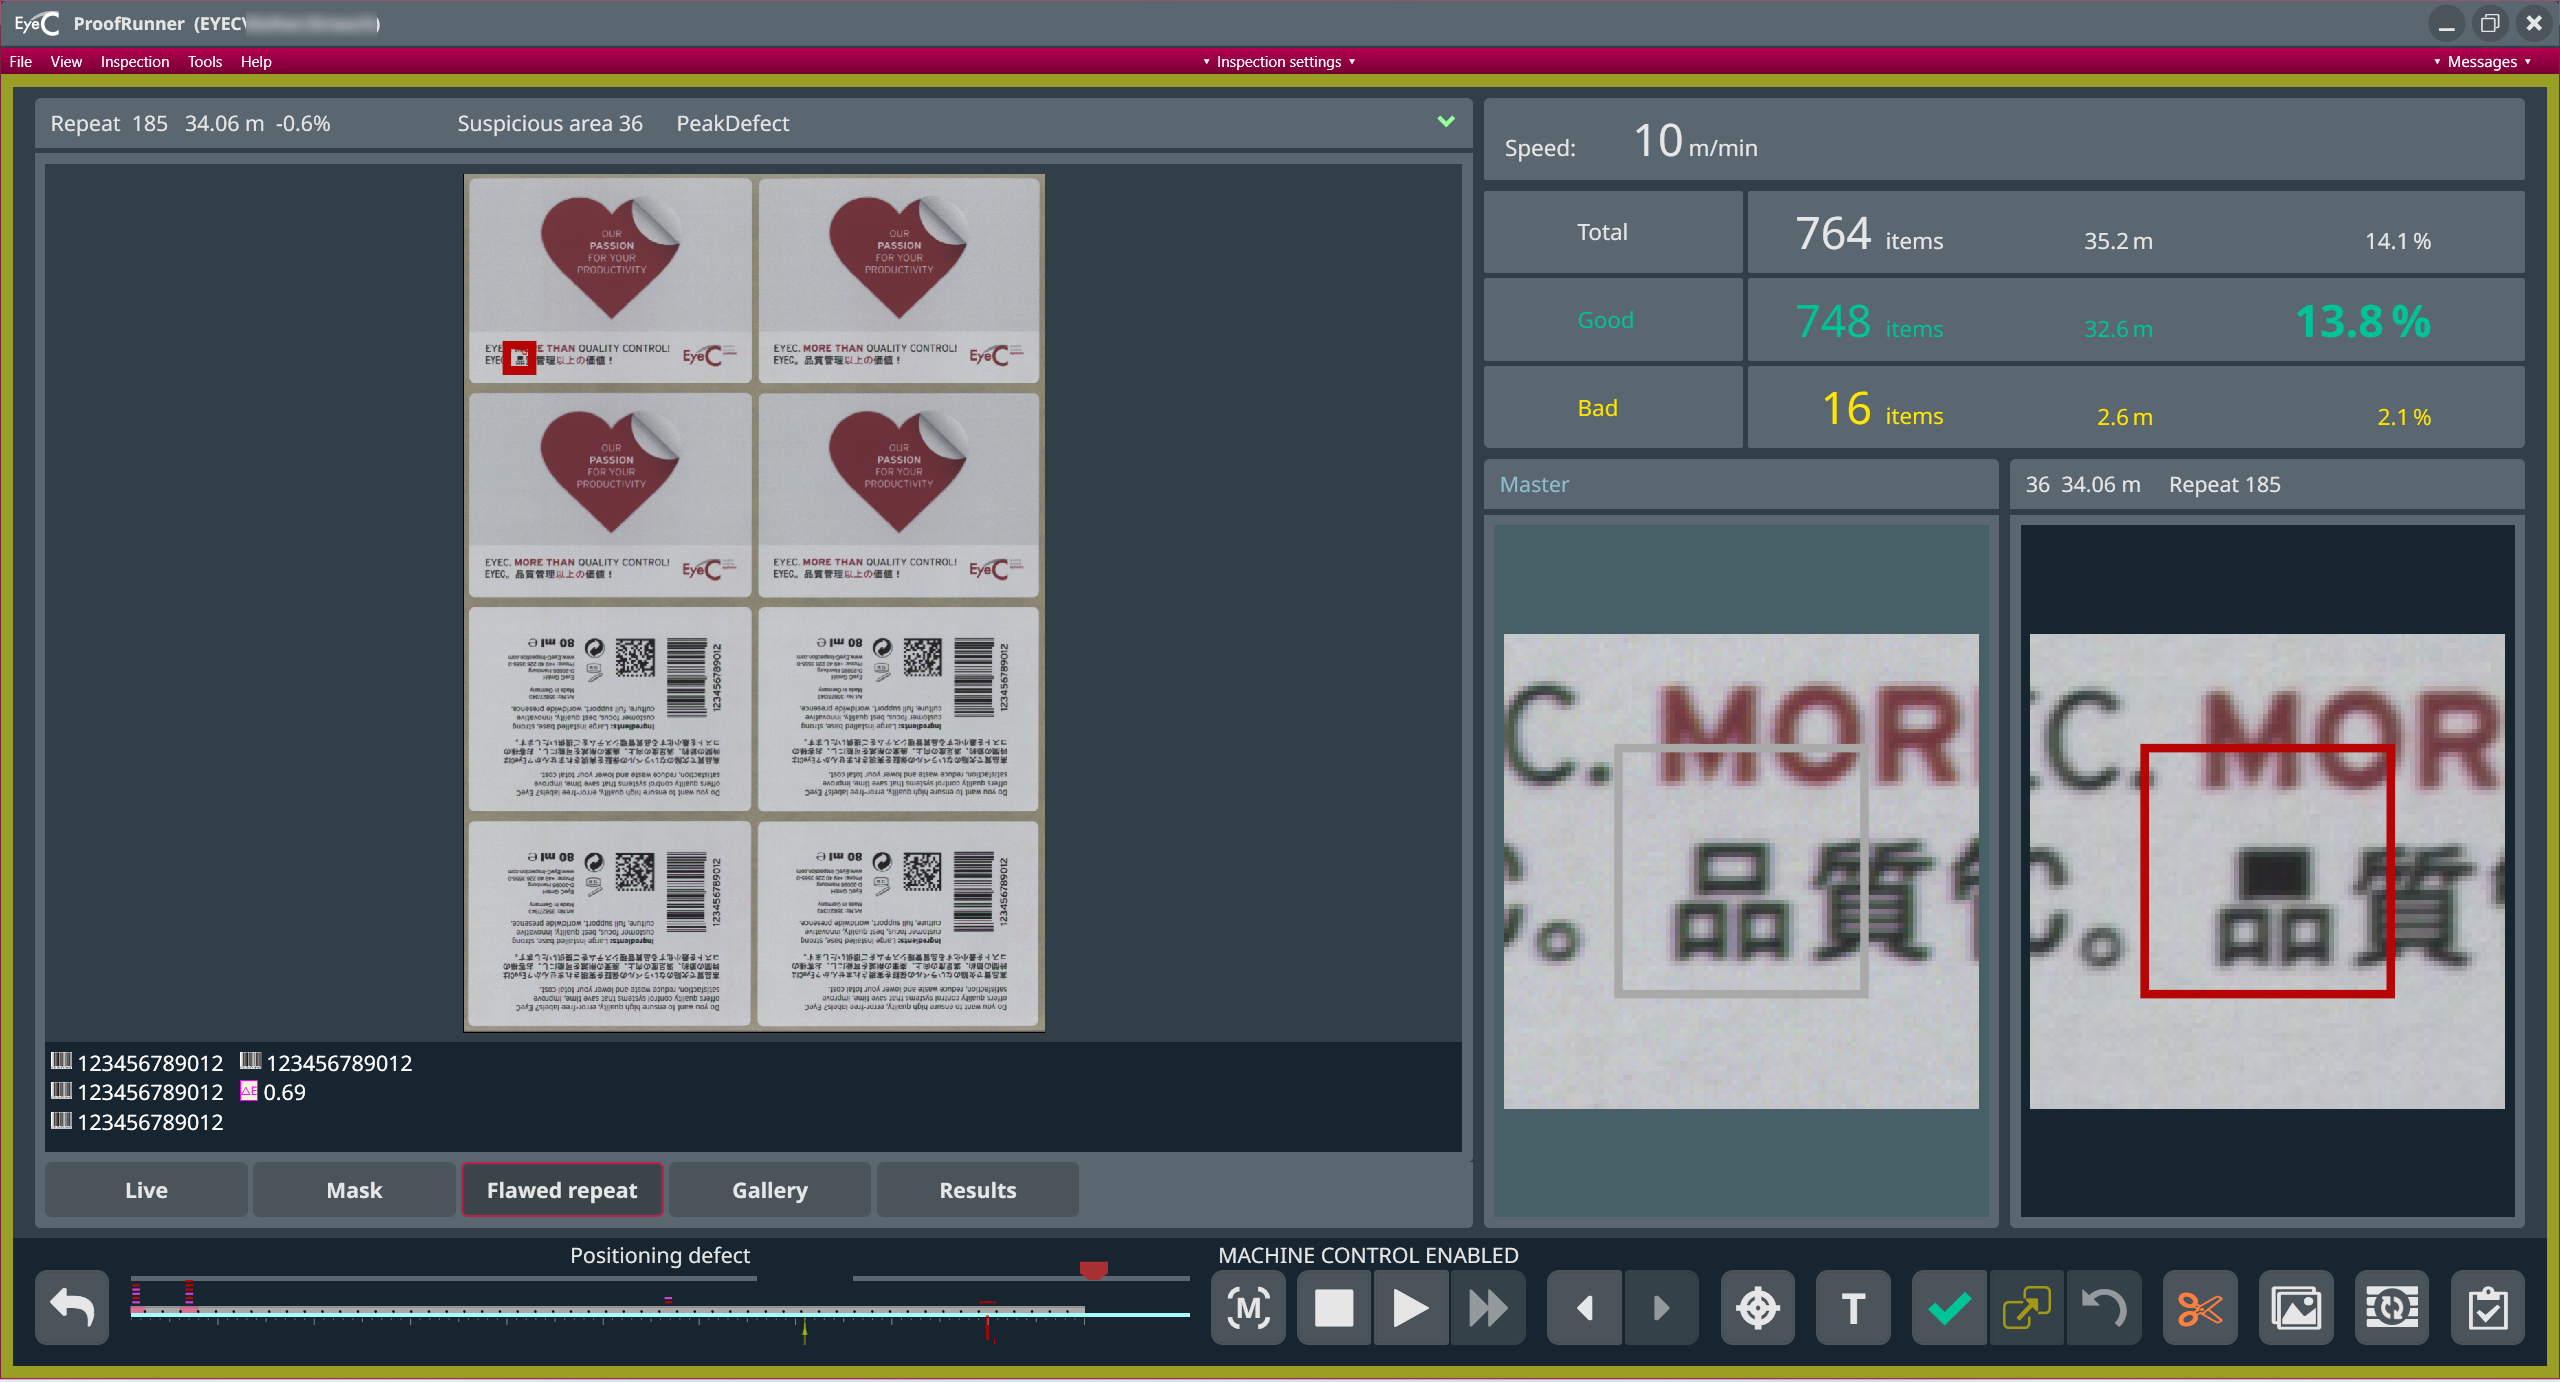
Figure 1. Display of running inspection The inspection runs continually until the end of the roll.