The following settings may only be made by experienced users.
Incorrect settings may lead to bad results!
You can newly synchronize the roll at any time by pressing the Sync button.
This is only necessary in exceptional
cases.
If you want to set a new synchronization point, such as to synchronize to a specific
label after cutting out waste or similar, follow these steps:
With the mouse, select the desired error to synchronize.
Check again if the position of the label in the Finishing Manager
matches the position on the rewinder.
Click Sync to select the error as the new synchronization point.
NOTICE
Before the synchronization, be sure to verify the position
in the software AND on the rewinder.
If the position in the software does not coincide exactly with the position of
the label on the rewinder, you can adjust the position in the software within
certain limits.
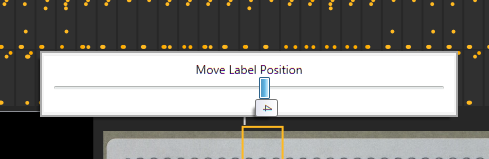
To do this, right-click the detail view of the print roll.
The following window is displayed: Figure 1. Label position adjustment (display rotated 90°)
With the mouse, you can now spring forward and backward to individual labels in
order to align the actual position and the position in the software.
When you leave the field with the mouse, the new position is set.
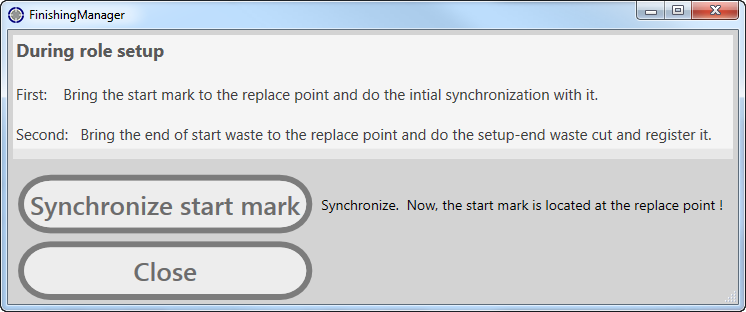
Click Sync to make a new synchronization.
You will see the following dialog box: Figure 2. Dialog box for synchronization
To synchronize, click Synchronize start mark. To cancel, click
Close.

 This is only necessary in exceptional
cases.
This is only necessary in exceptional
cases.