
Evaluating inspection results with the Quality Manager
With the Quality Manager, the inspection results can be evaluated by a qualified person and are prepared for further processing.
-
To start the Quality Manager, click the Quality Manager icon
on the desktop.
The following display appears.
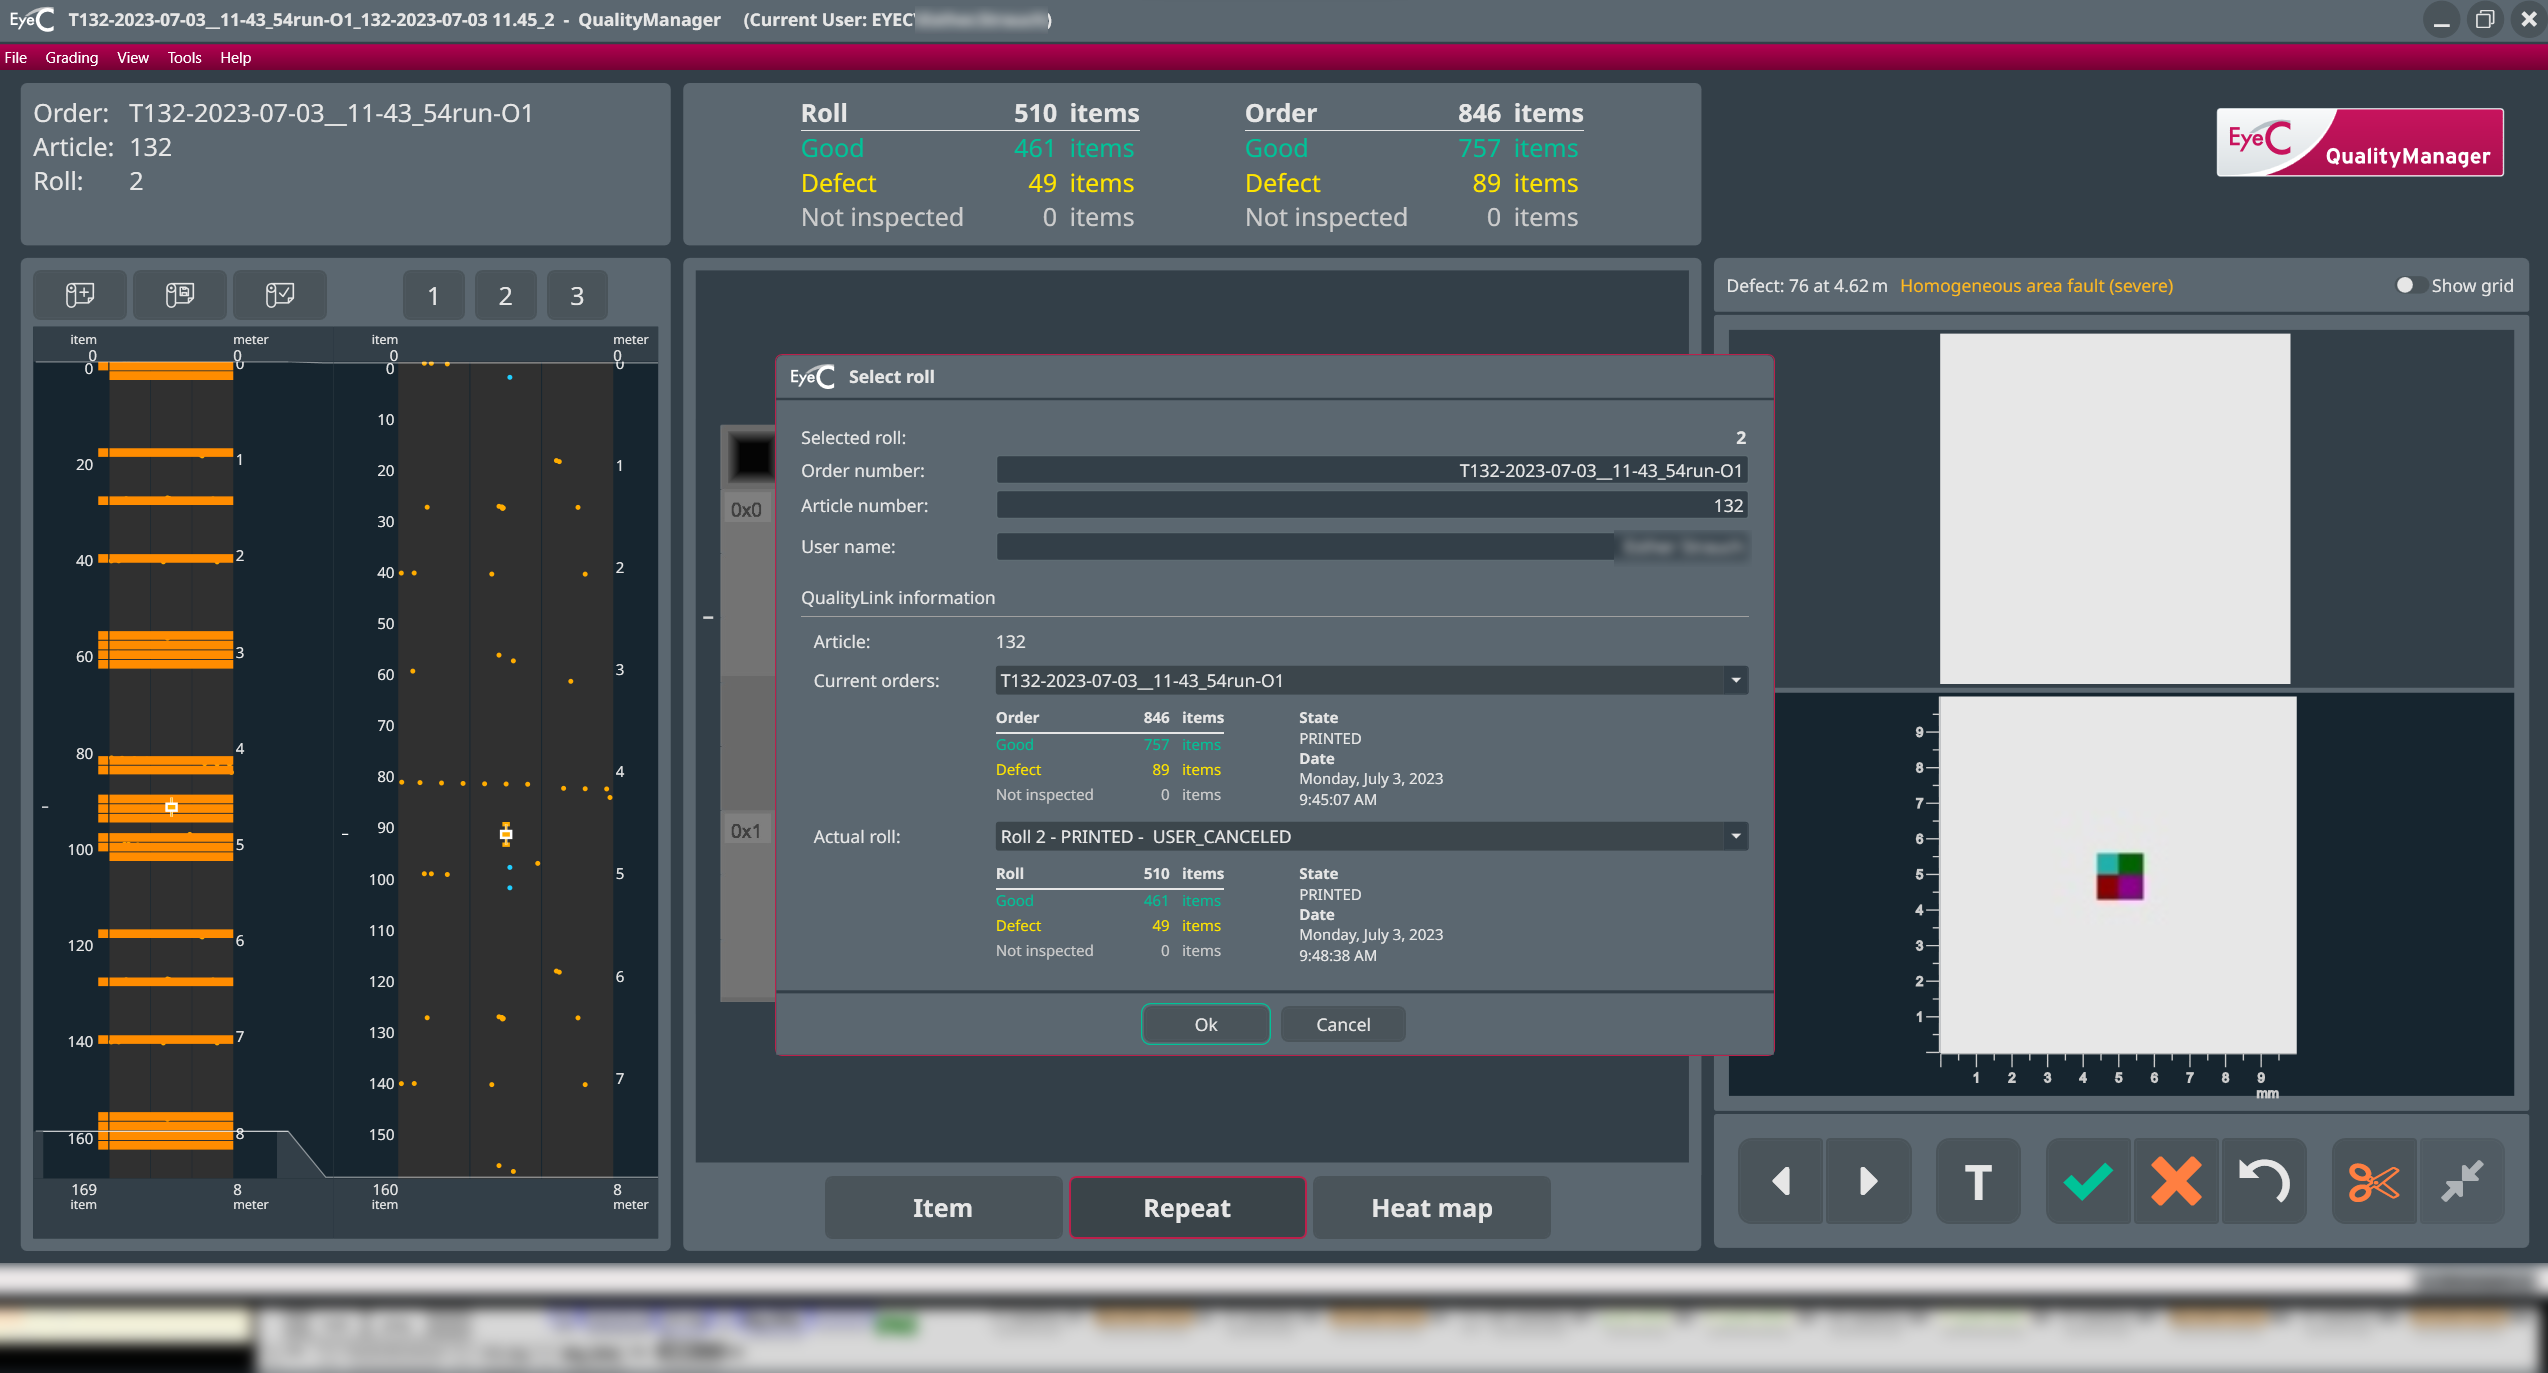
Figure 1. Quality Manager start screen -
Enter the appropriate order number in the Order number field. The order
number is highlighted in red until you enter a valid number in the database.
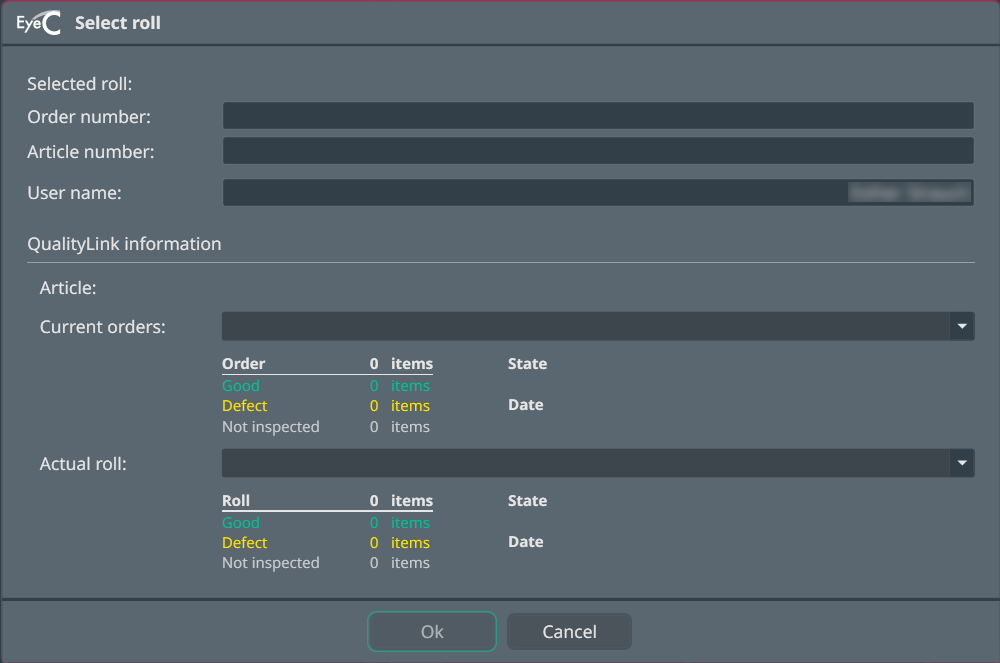
Figure 2. Dialog box at the start of the Quality Manager After entering the order number, the entries for this order that are in the database are displayed.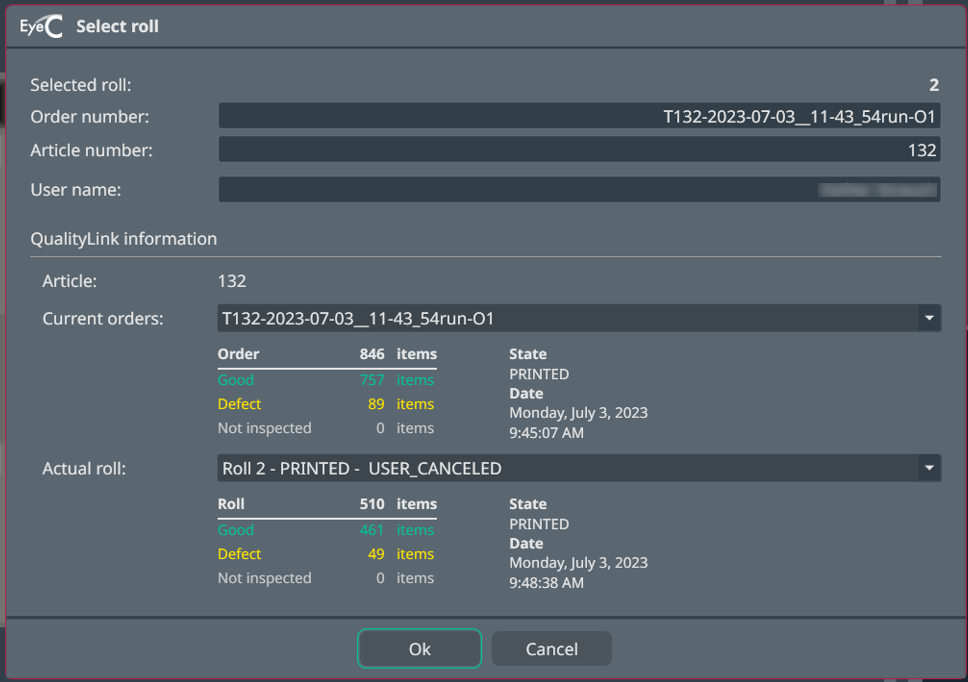
Figure 3. Data for the selected order. Possible order states: PRINTED, QUALIFIED, IN PRODUCTION (just being produced or inspected), and FINISHED. -
In the Actual roll list, you can select a desired roll.
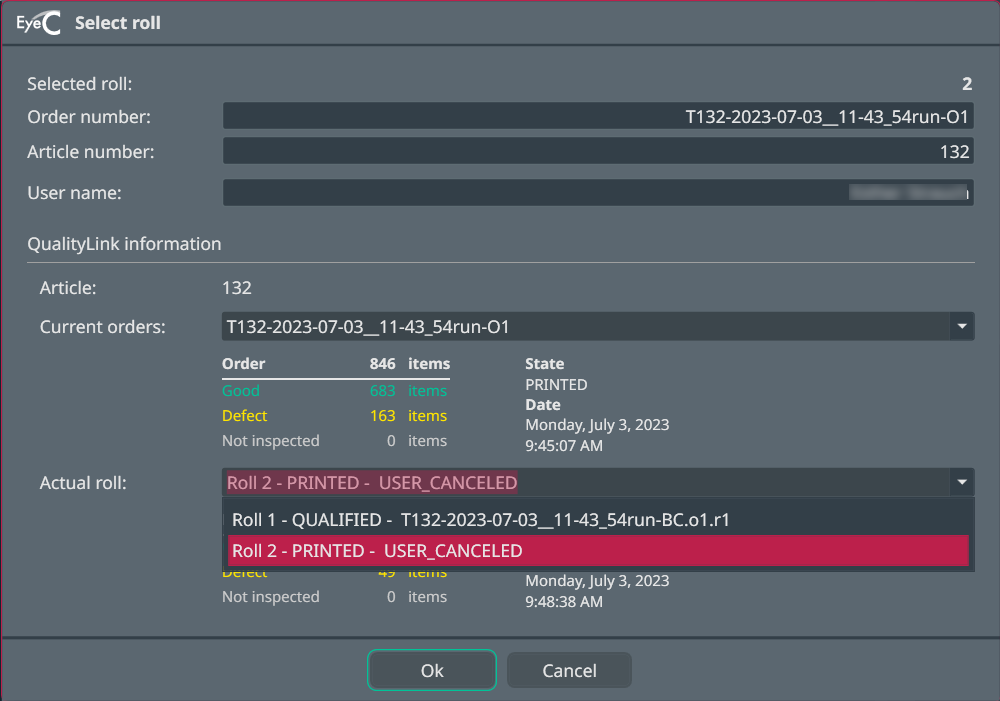
Figure 4. Selection of order's rolls to be evaluated After selecting a roll you see the following screen with an overview of the selected roll.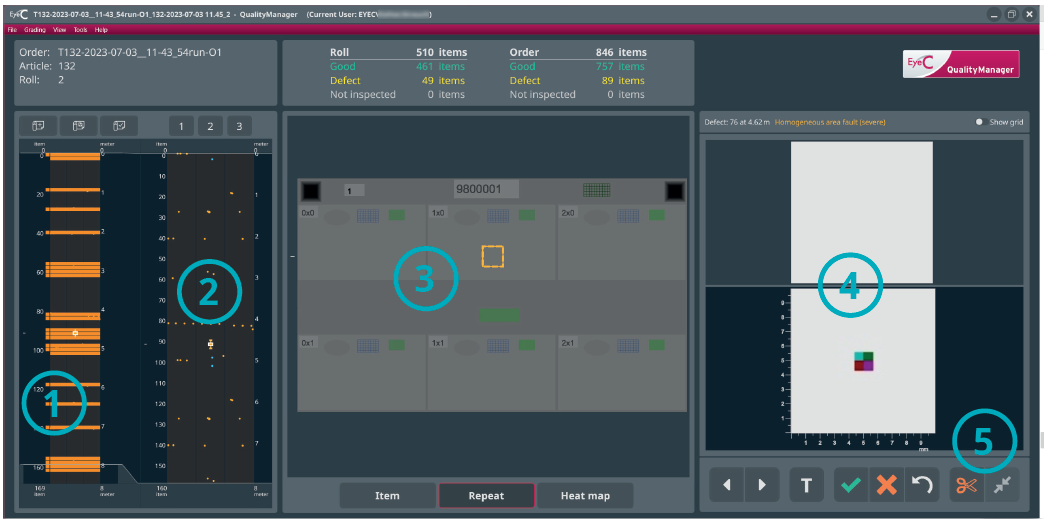
Table 1. Quality Manager overview Number Description 1 Complete overview of the roll. 2 Detailed overview. You can zoom in and out with the mouse wheel. By clicking on the boxes above the display, whole ups can be sorted out longitudinally.
3 View of ups. 4 Detailed view of defective areas. 5 Tools to qualify and review the areas. Figure 5. Quality Manager - overview → You can begin to qualify the suspicious areas. The Quality Manager displays the first suspicious areas directly after it is started.
-
To evaluate the suspicious area as Good, click the following button.
 All labels not qualified as Good are automatically marked as Bad and are earmarked for replacement.
 -
Go to an error at the beginning of the waste area. To identify the waste area,
click the Scissors symbol.

-
To mark the end of the waste area, click again on the Scissors symbol.
 Note:Always mark the beginning and the end of a waste area with the Scissors button.
 -
To jump to the next or previous suspicious area, you can click directly on the
corresponding buttons.

 After evaluating the results, the verified data is saved in the database.