
Cutting out a part of the print web
If a larger number of errors are present, you can also remove a section of the print web.
| NOTICE | |
|---|---|
-
Go to the beginning of a waste area. This is also shown in the window at the
bottom right:

Figure 1. Information about the start of the waste area -
If you have reached a point that is considered waste and should be cut out
(marked orange-red), the Finishing Manager automatically stops the roll at this
point and the software gives you the instruction to click the scissors symbol
BEFORE cutting the waste.
See following figure.
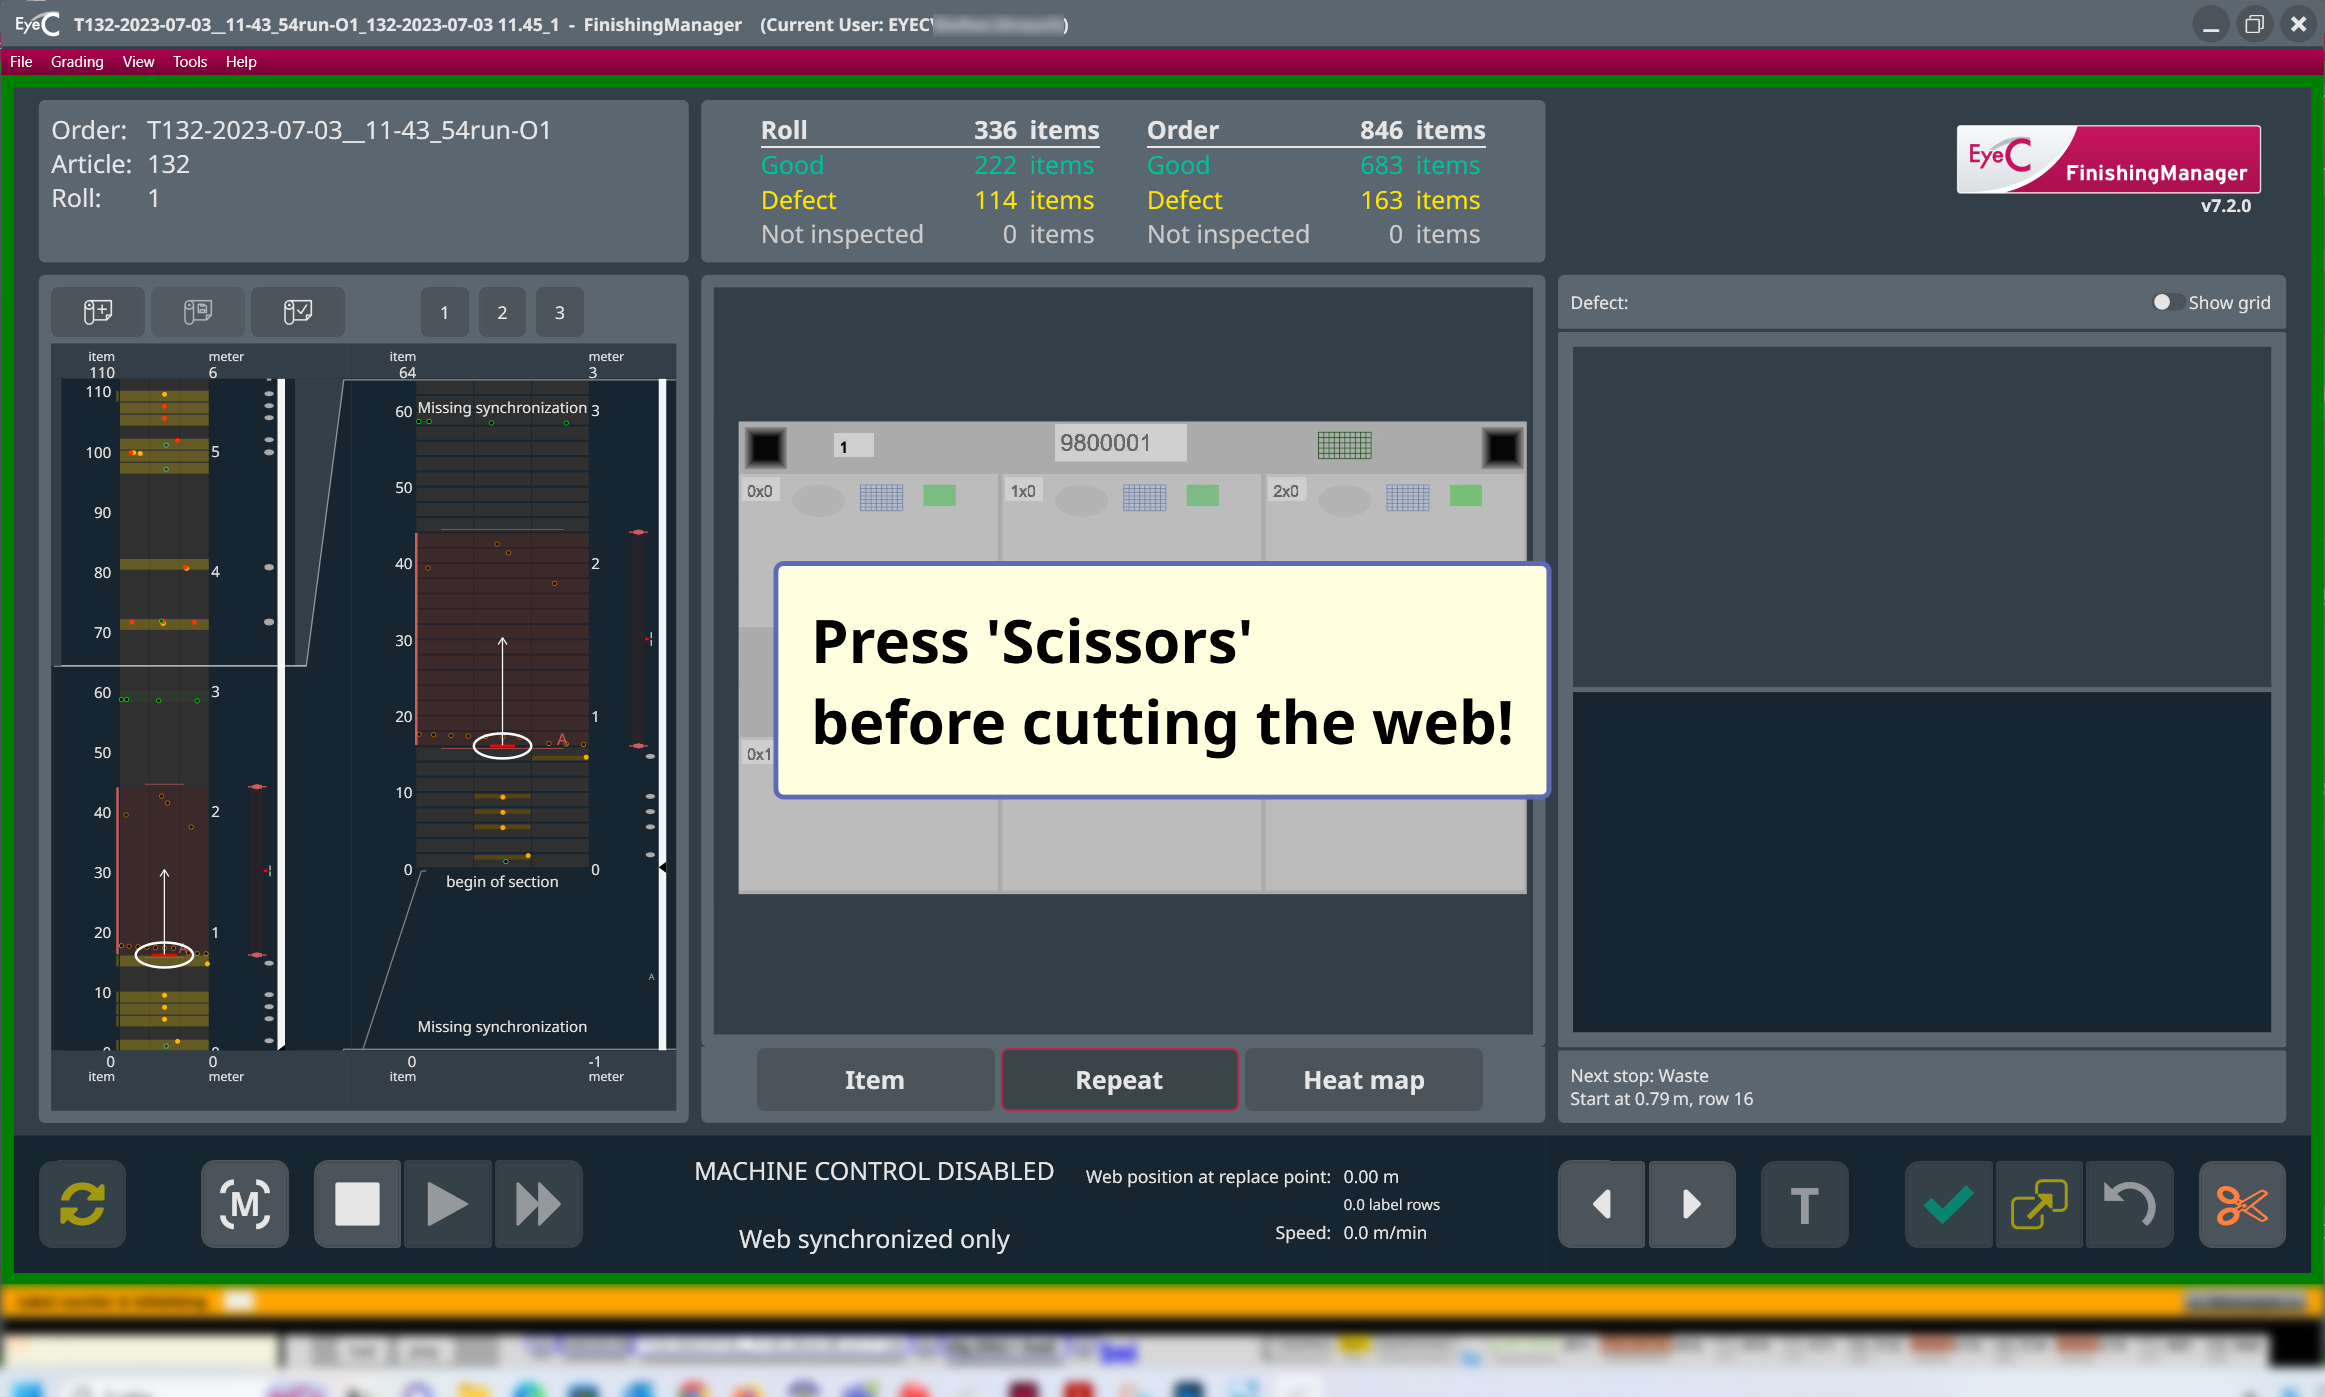
Figure 2. Reminder to set the cut mark before waste area This places a cut mark and the software notes this point.
-
After cutting out the waste area, click again on the Cut button.
 You are also automatically informed of this action by the software: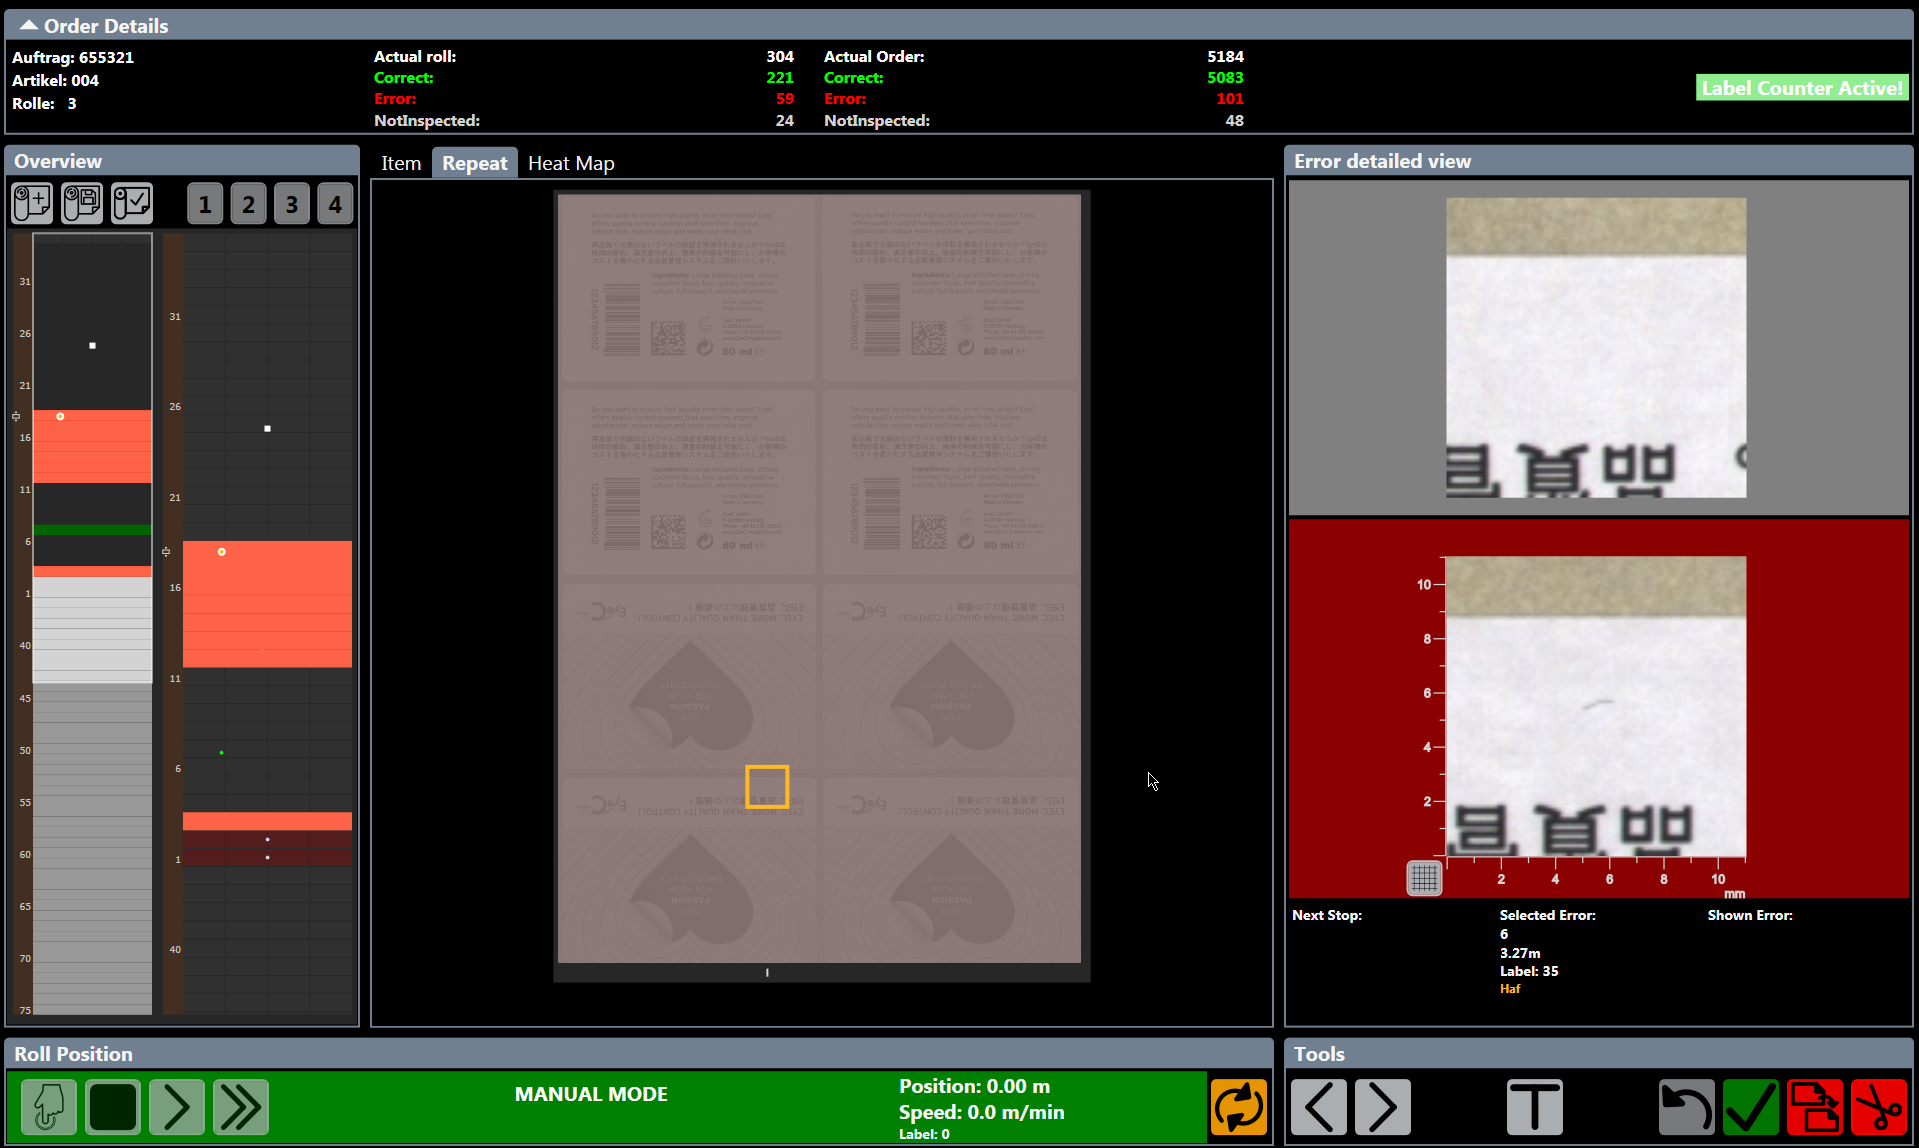
Figure 3. Reminder to set the cut mark after cutting out the waste area