
Results of the Braille inspection
The following figures show the results of a Braille inspection.
Overview on production sample tab
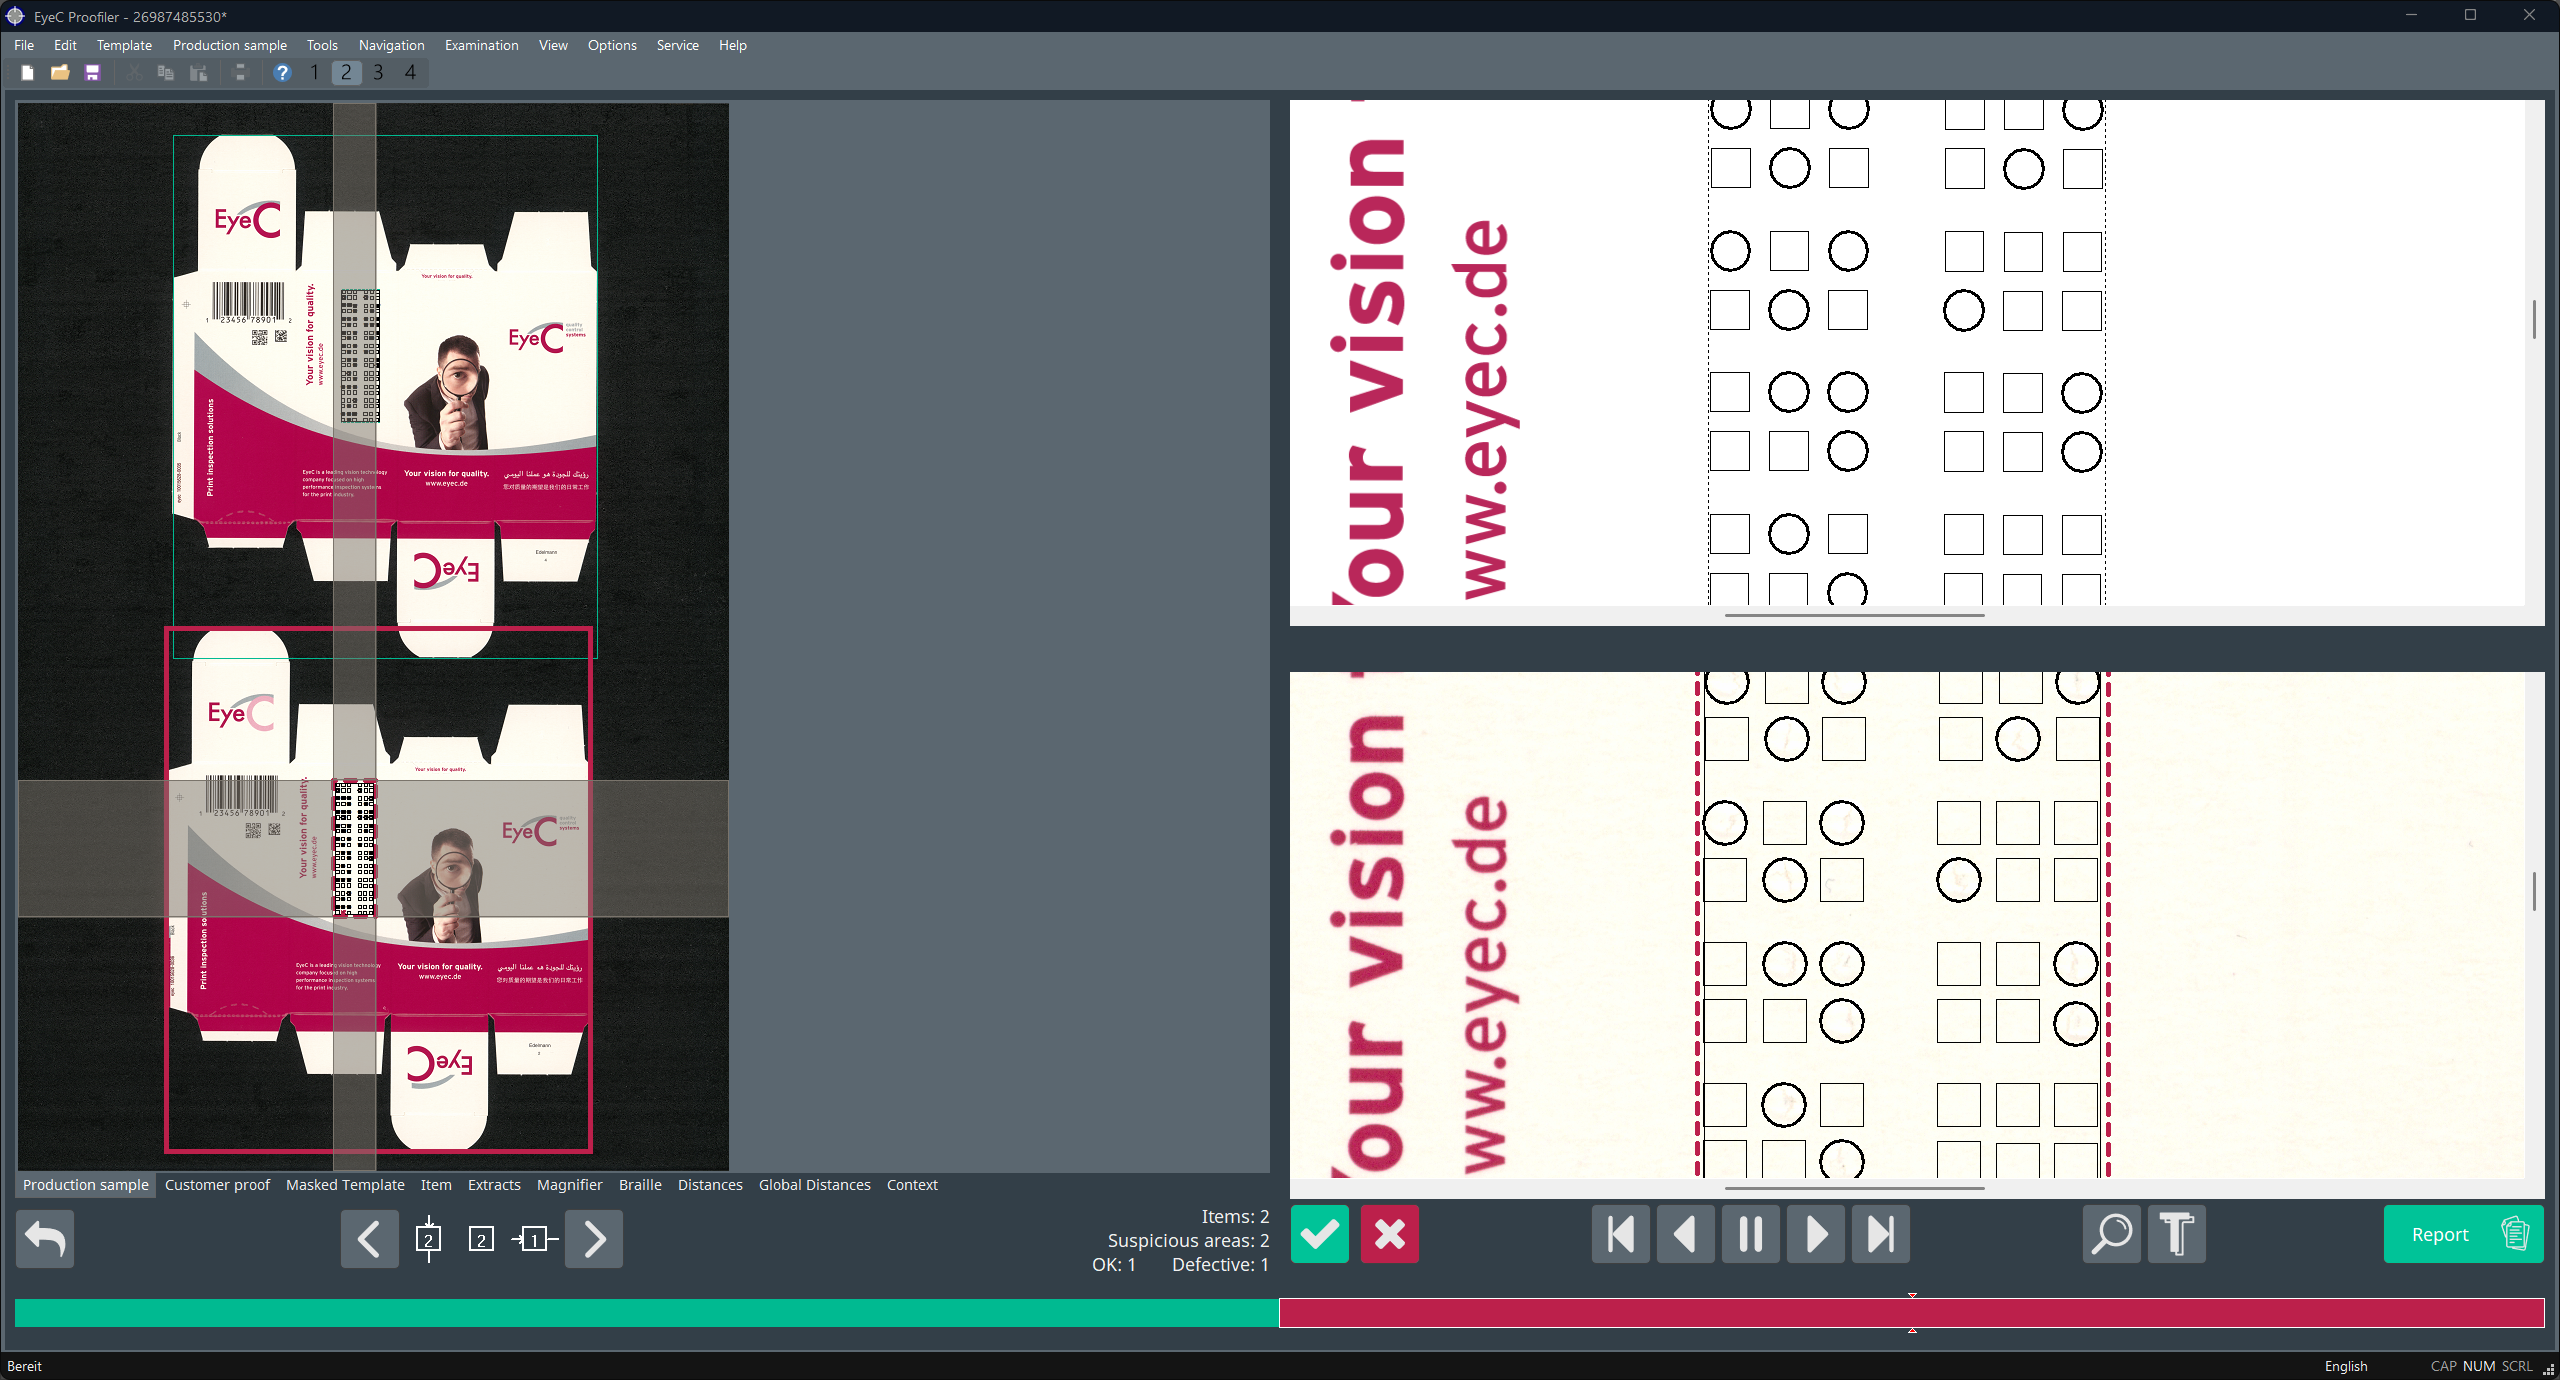
On the Production sample tab, you can see the overall rating of the Braille grid.
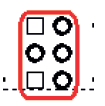
Braille dots are automatically detected and displayed in a Braille cell (grid). A dot position with a Braille dot is marked by a circle and a dot position without a Braille dot is marked by a square.
Details and statistics on Braille tab
In contrast to Artwork inspection, where deviations between the customer proof and sample are marked as suspicious areas (orange), Braille inspection automatically identifies both good Braille cells (grids) (green) and Braille cells with defects (red).
If a Braille dot falls below a certain height or if the radius and shape of the embossing do not meet the specifications, the Braille dot is marked by a colored circle (red or orange, depending on the settings in the Braille options). Braille positions with no embossing are indicated by a square frame. A red frame indicates that the defined threshold has been exceeded.
If all Braille dot positions are within the defined thresholds, they are marked green.
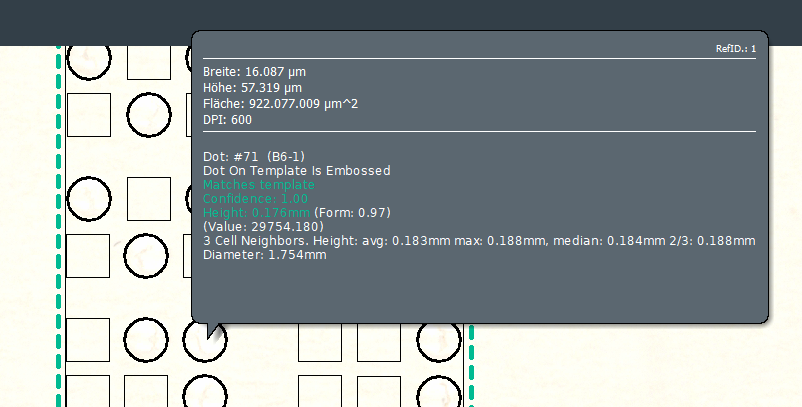
Detailed inspection results for each Braille dot are displayed when the mouse curser is held over that dot. See following figure.
If the Braille option is part of your EyeC Proofiler system, the Braille tab is displayed in the inspection screen.
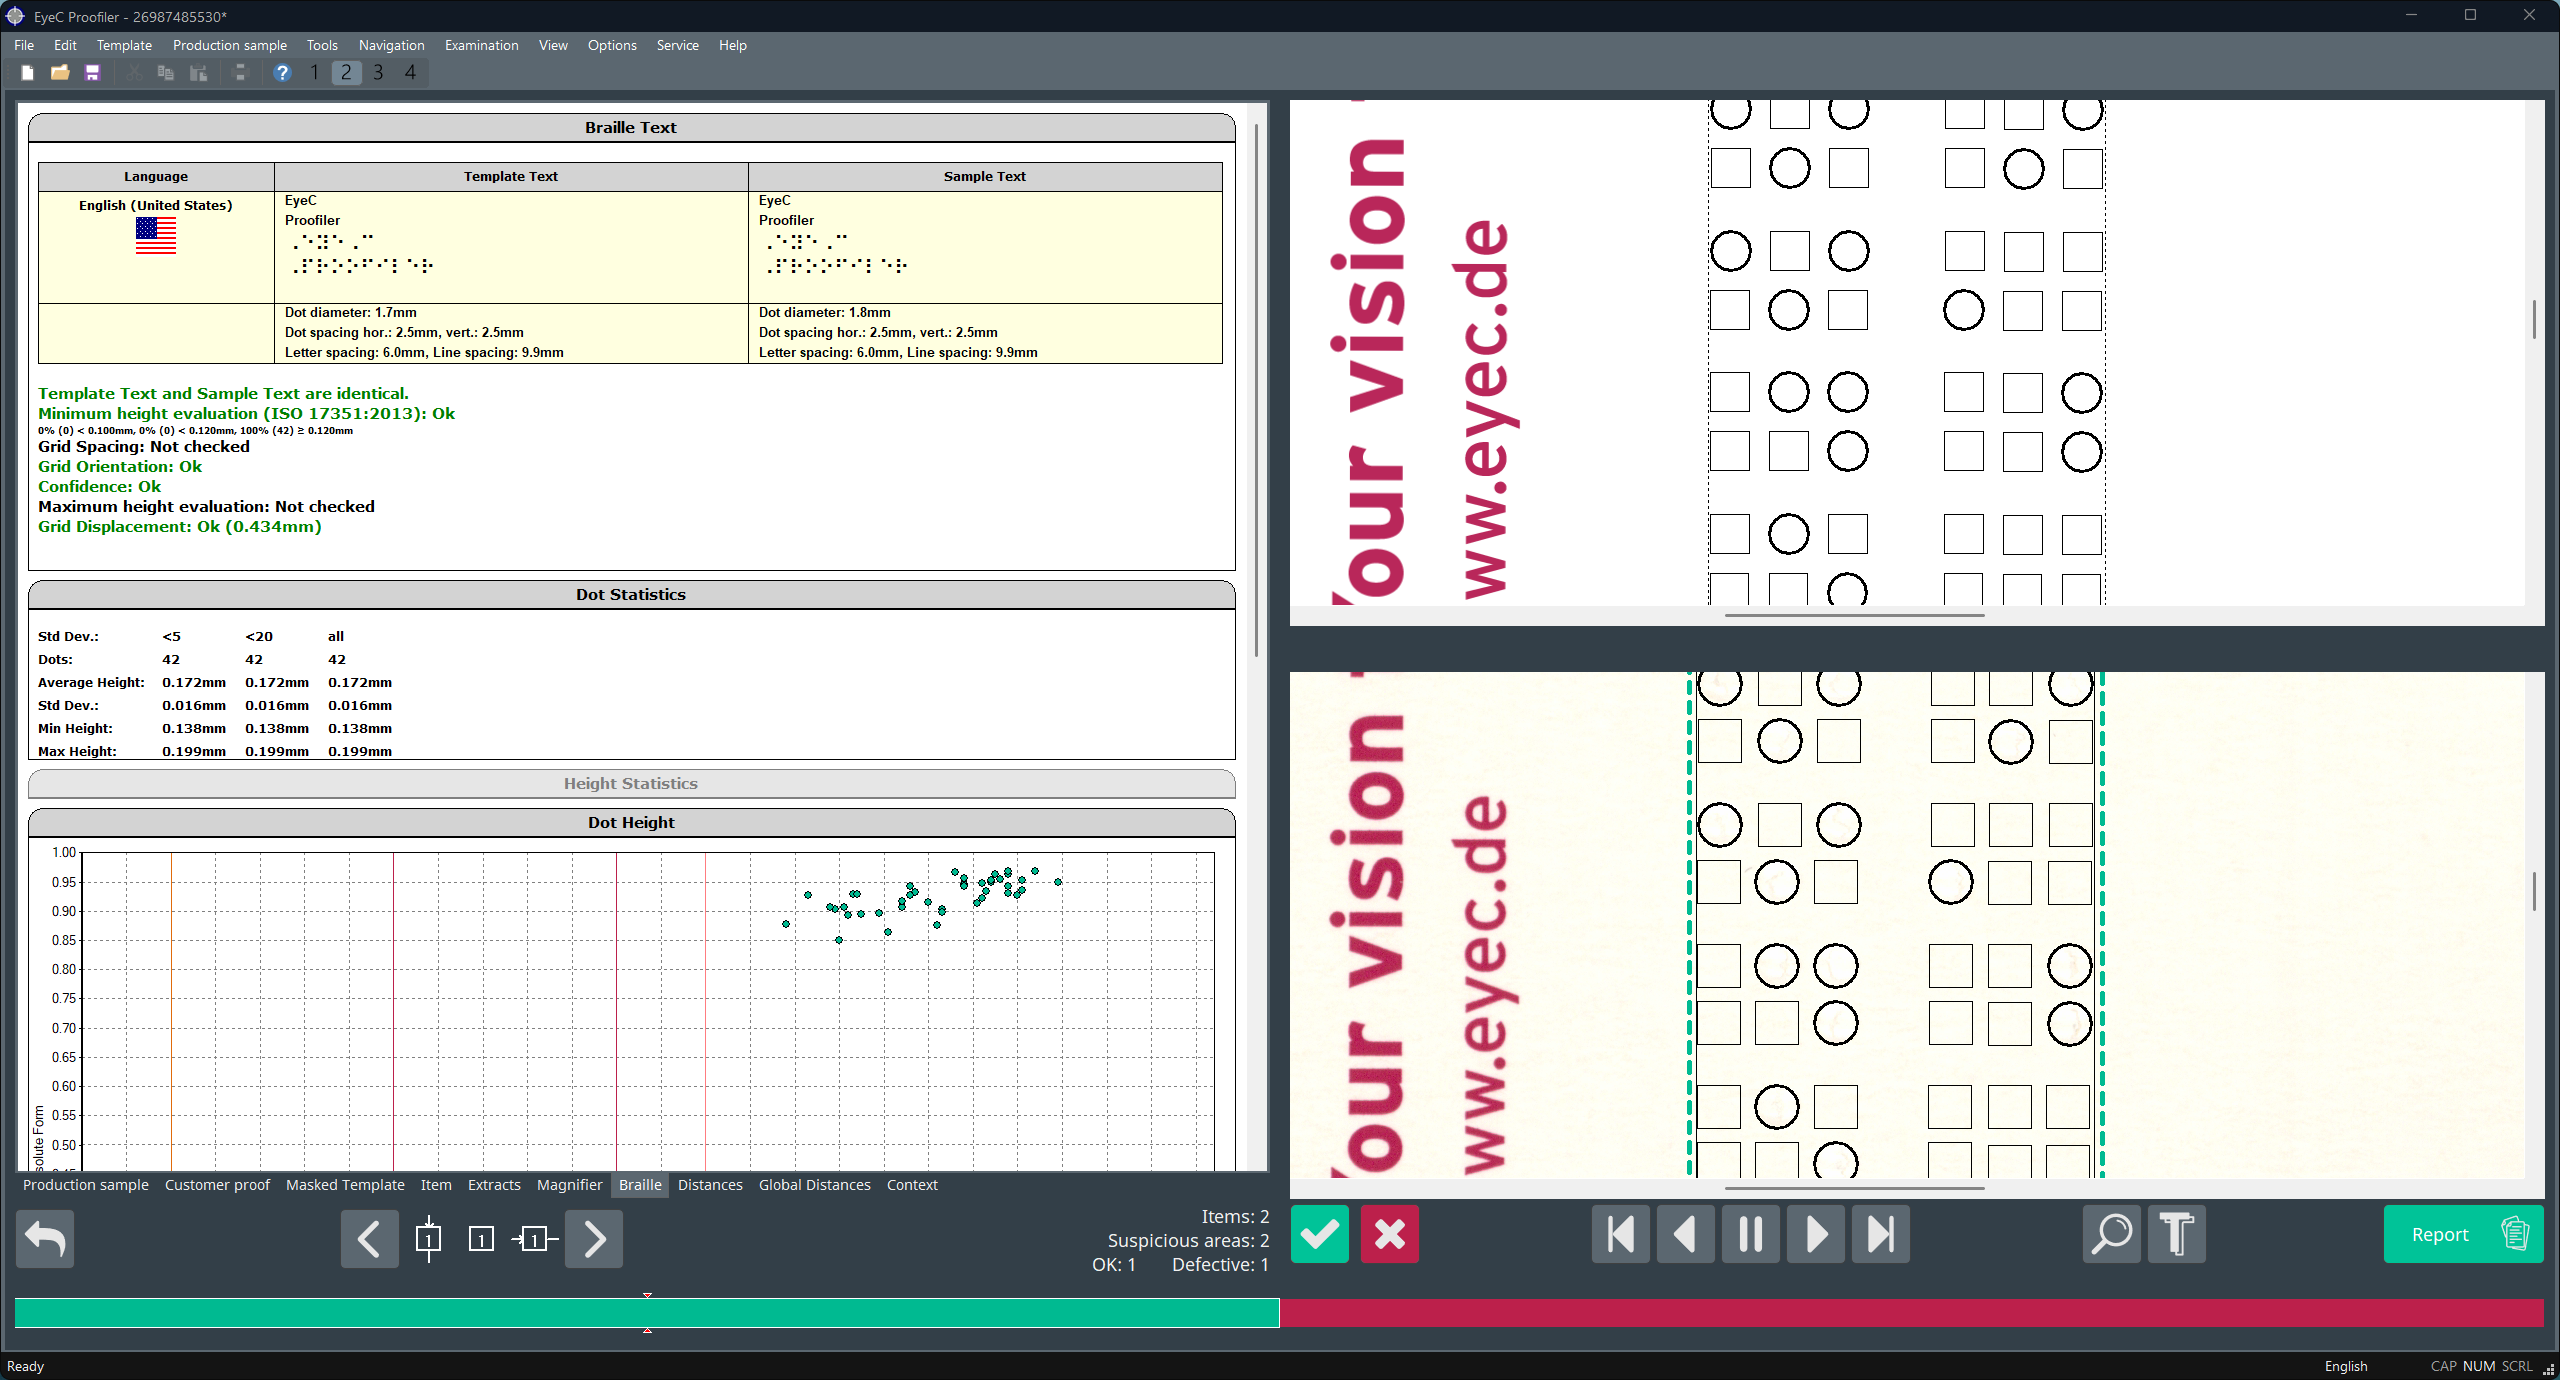
For detailed results of the Braille inspection, click on the Braille tab.
The Braille tab is selected and shows statistics for the detected Braille dots. See following figure.
Further information
For further information on the listed quality parameters refer to the EyeC Proofiler System Manual.