
Qualifying the reference image with a PDF
EyeC ProofRunner gives you the option of qualifying the reference image with a PDF.
-
Click the Qualify items by PDF button.
 The EyeC Proofiler software opens automatically.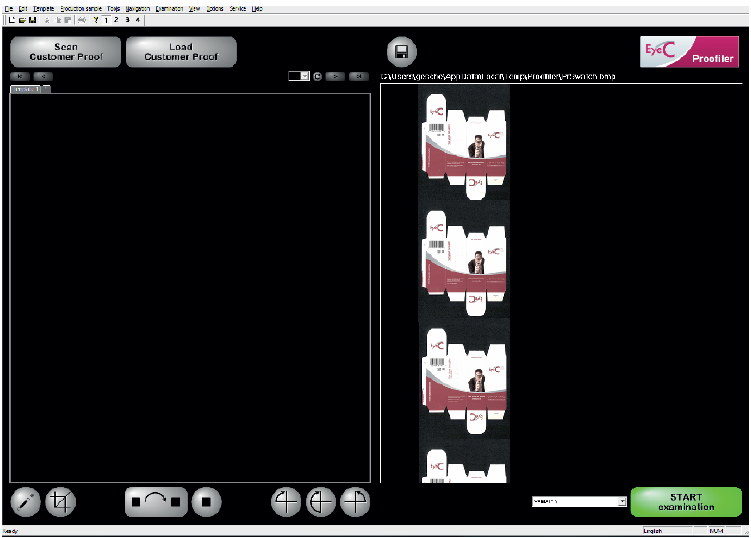
Figure 1. EyeC Proofiler acquisition screen -
If available, the corresponding PDF template loads automatically. If the
template does not appear, click the Load Customer Proof button.
A dialog opens:
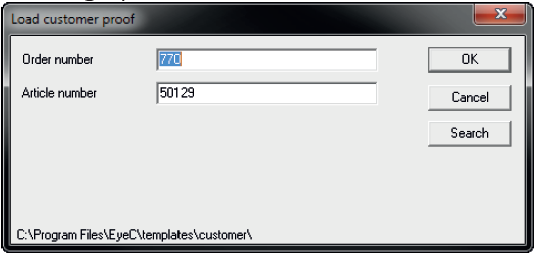
Figure 2. Load customer proof dialog -
If the PDF template is available, you can edit it using the buttons below to
align it with the reference image. For further information, see EyeC
Proofiler System Manual.
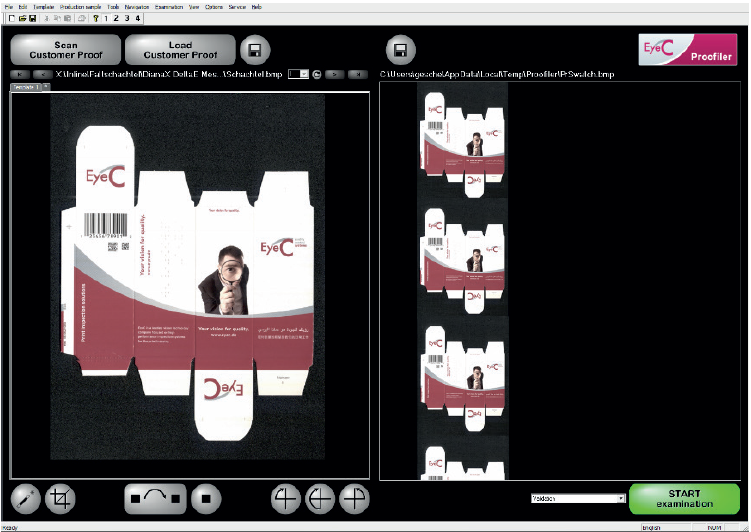
Figure 3. EyeC Proofiler - template aligned with the reference image -
Once the template and the reference image are aligned, click the START
examination button.
 The inspection begins. The inspection is similar to an inspection with EyeC ProofRunner. Differences between the reference image and the sample image are shown as suspicious areas surrounded by small colored frames. The currently inspected item is displayed on the left side of the screen and a magnified image of the suspicious area on the sample image compared to the reference image is displayed on the right, as seen in the following figure.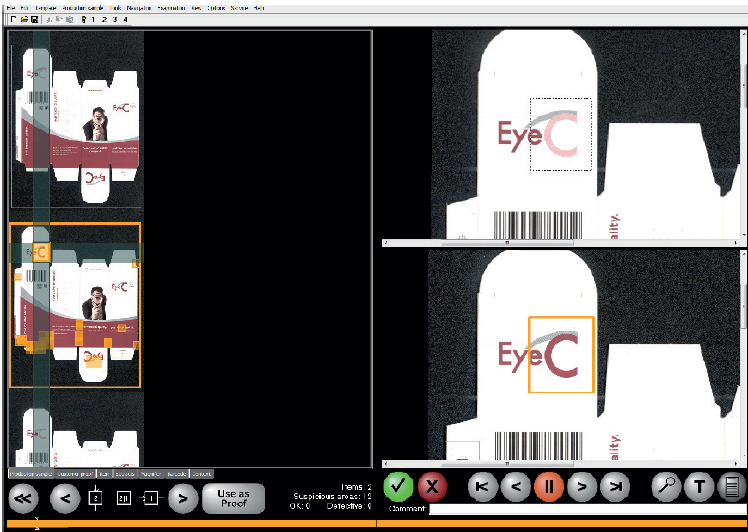
Figure 4. EyeC Proofiler - examination -
Once you are finished grading the suspicious areas, click the Create
report button.
The Proofiler software closes automatically. The ProofRunner software is displayed with the PDF Qualification Results dialog.
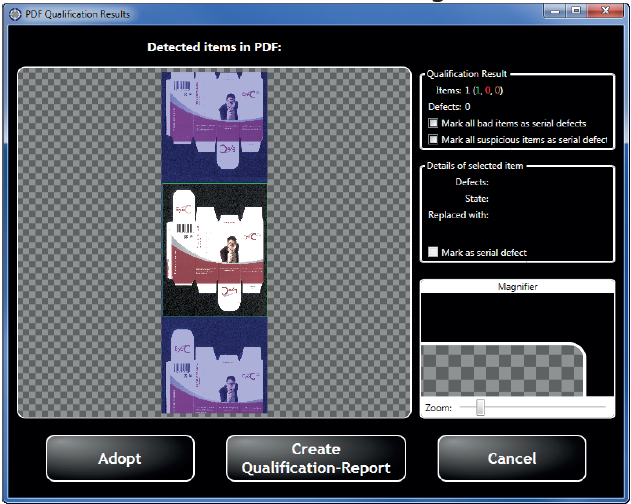
Figure 5. PDF qualification results
Note:
For more information on the PDF Qualification Results dialog, refer to the EyeC Proofiler System Manual.
You are now ready to start the inspection. See Inspection.