
Navigating through the manual inspection
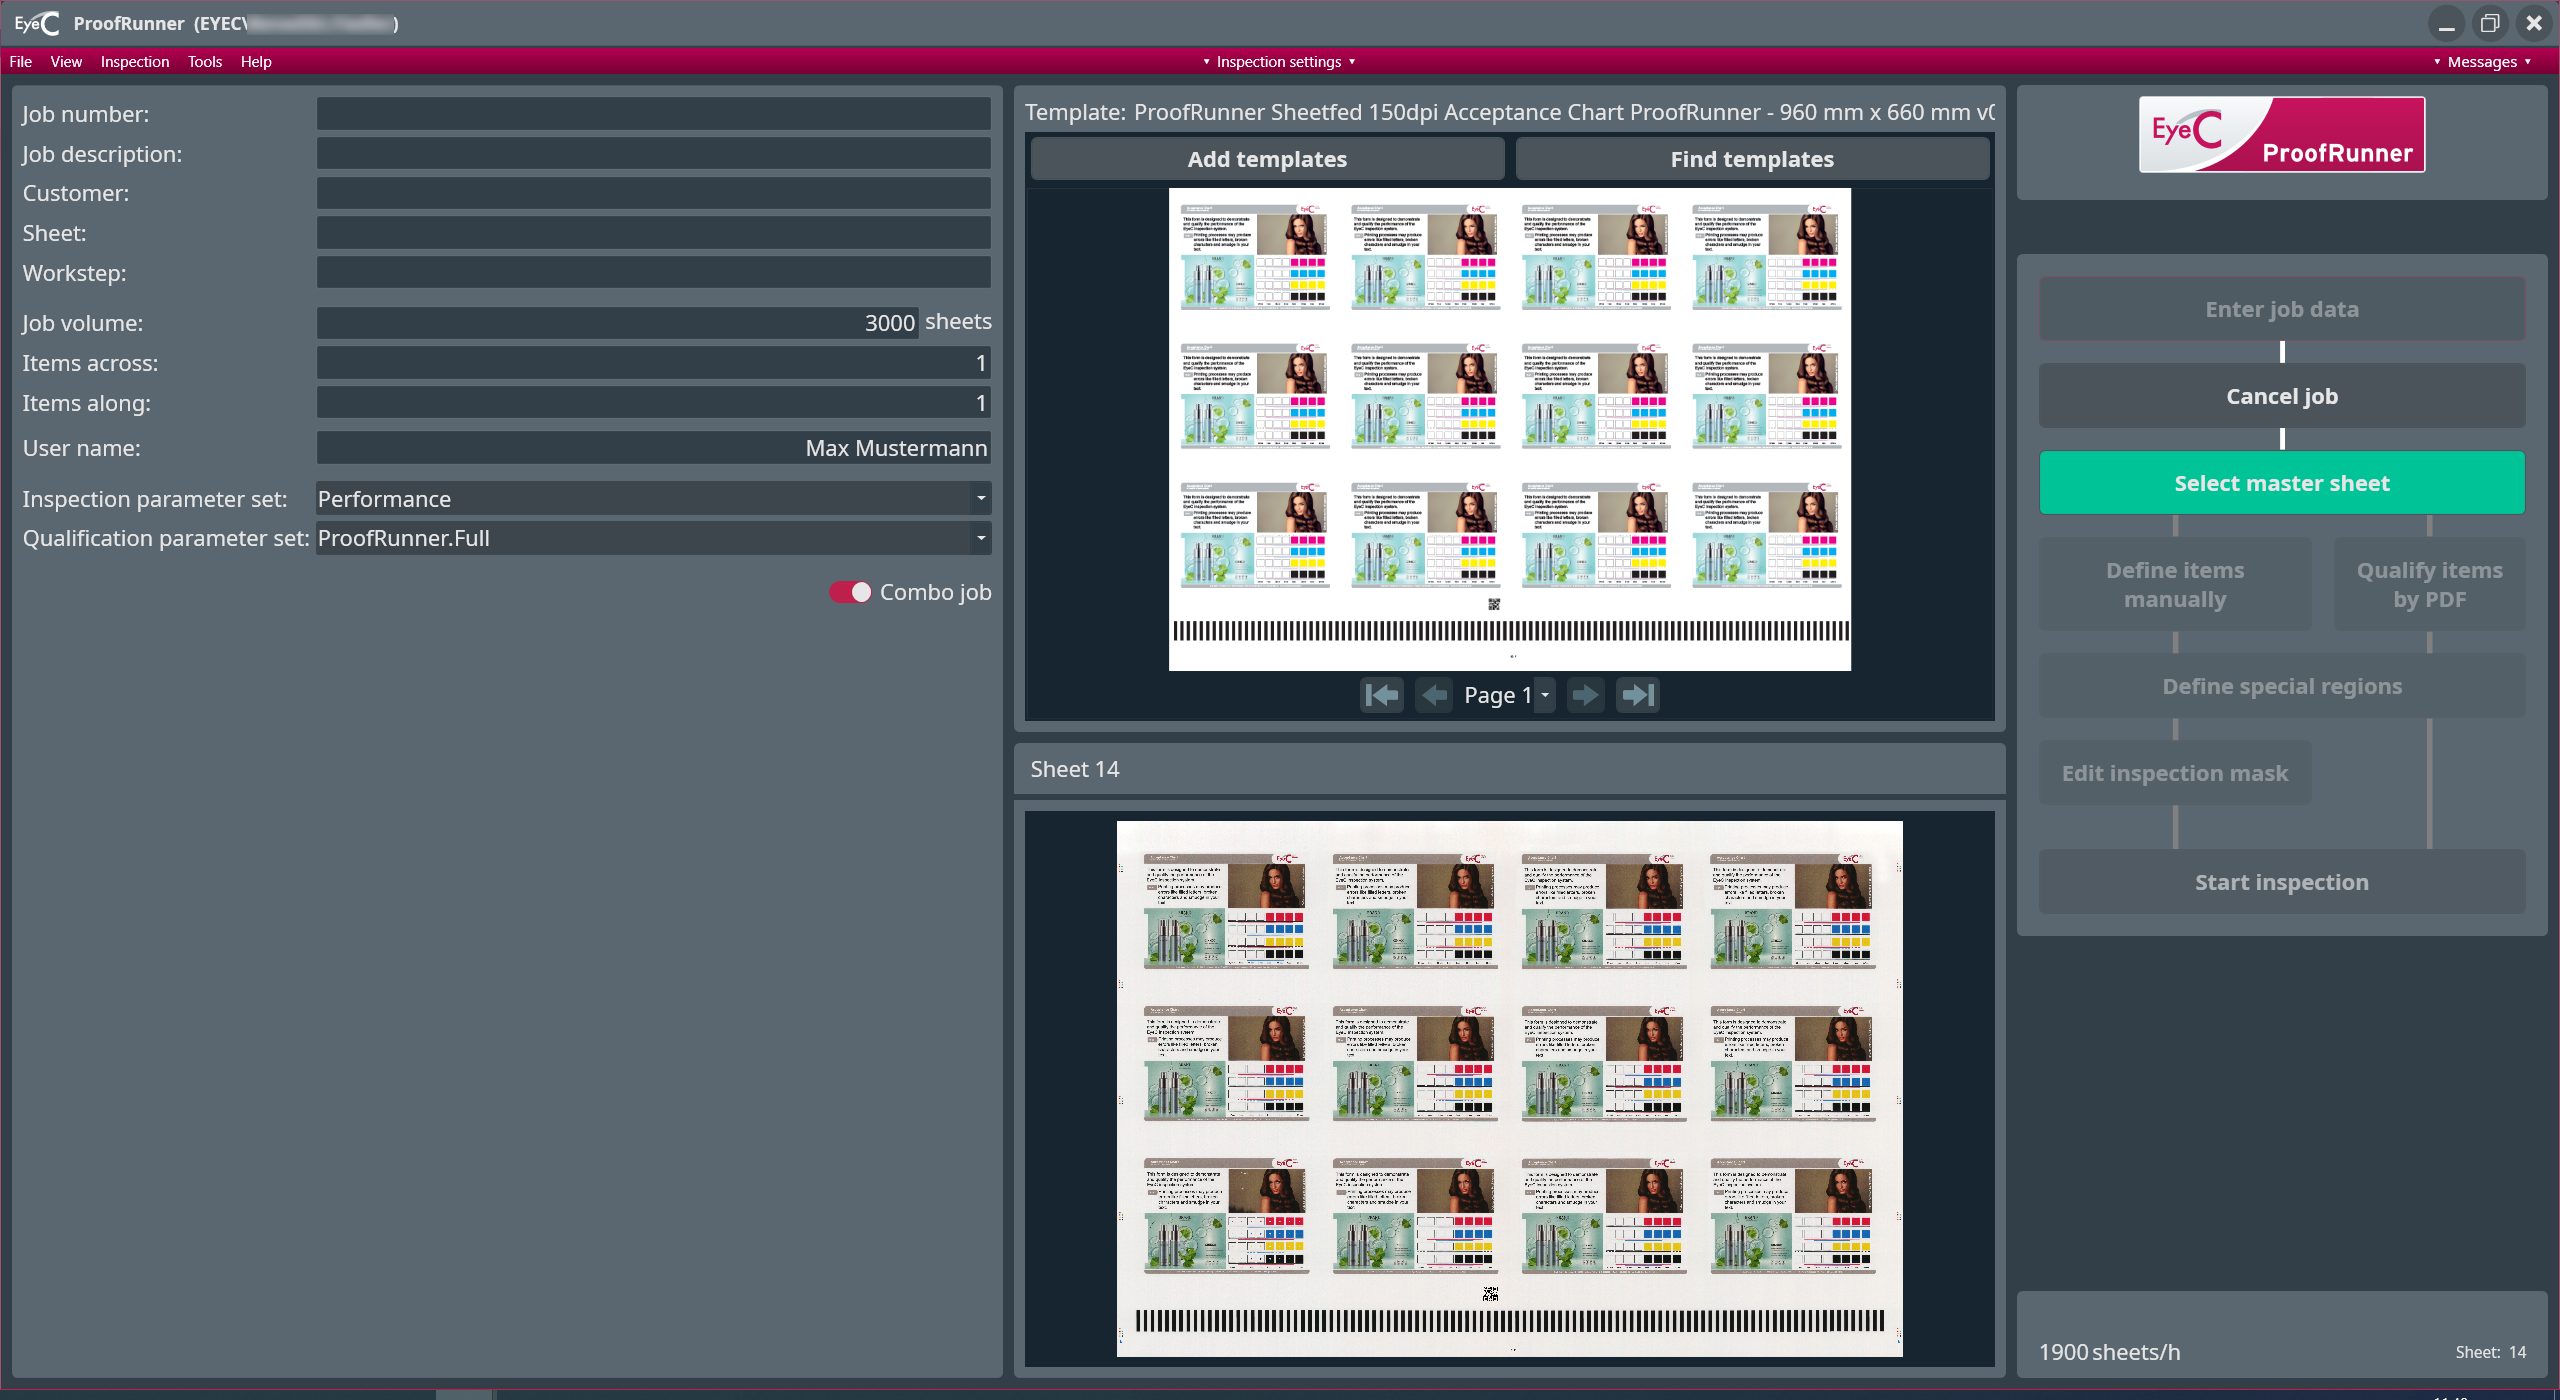
For the navigation through the inspection, the Operator is provided with buttons that are located in the right area of the screen.
| NOTICE | |
|---|---|
-
To choose a sheet as a reference sheet, click the Select master sheet
button.

- Variation X (Standard): The recent sheet is the potential reference sheet.
- Variation Y: After clicking on the Select master sheet
button, a window appears in which the number of the printing sheet to is to
be entered manually.
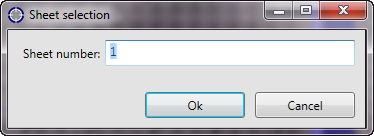
Figure 2. Sheet selection dialog
-
Choose 1 of the following options:
See following figure.
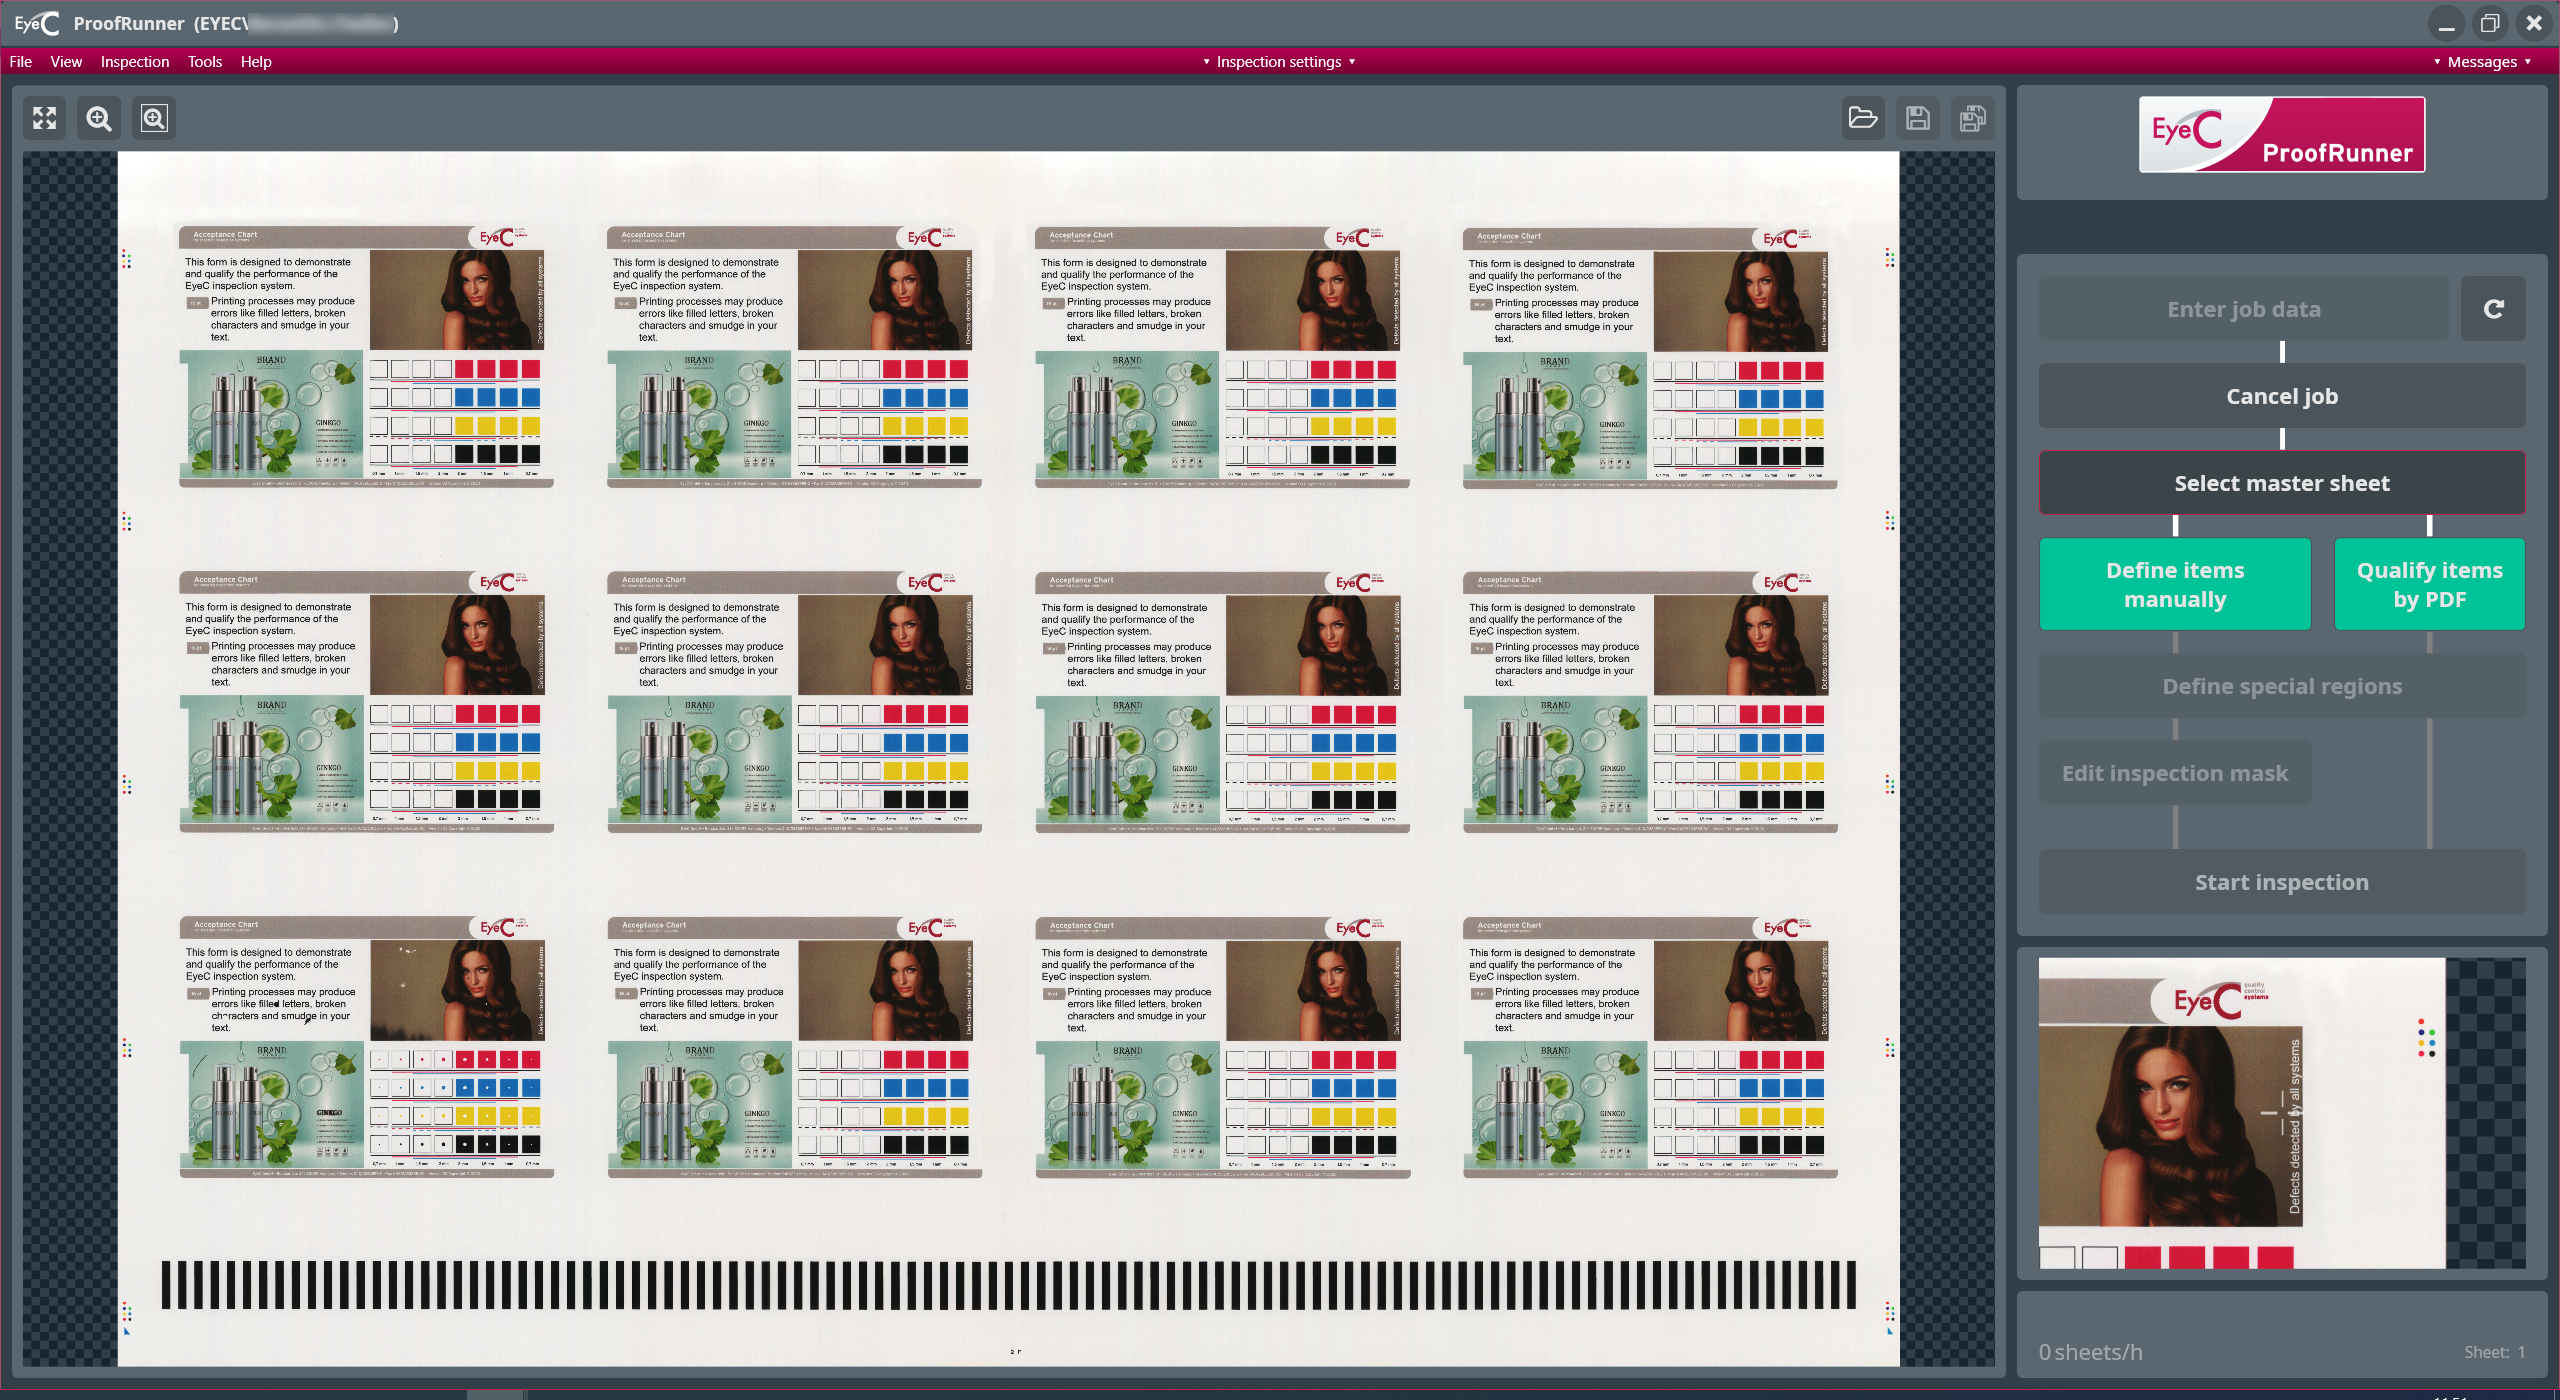
Figure 3. Qualify items by PDF -
After adopting the reference sheet the system returns to the EyeC ProofRunner
software. The reference sheet and all items found are displayed.
See following figure.
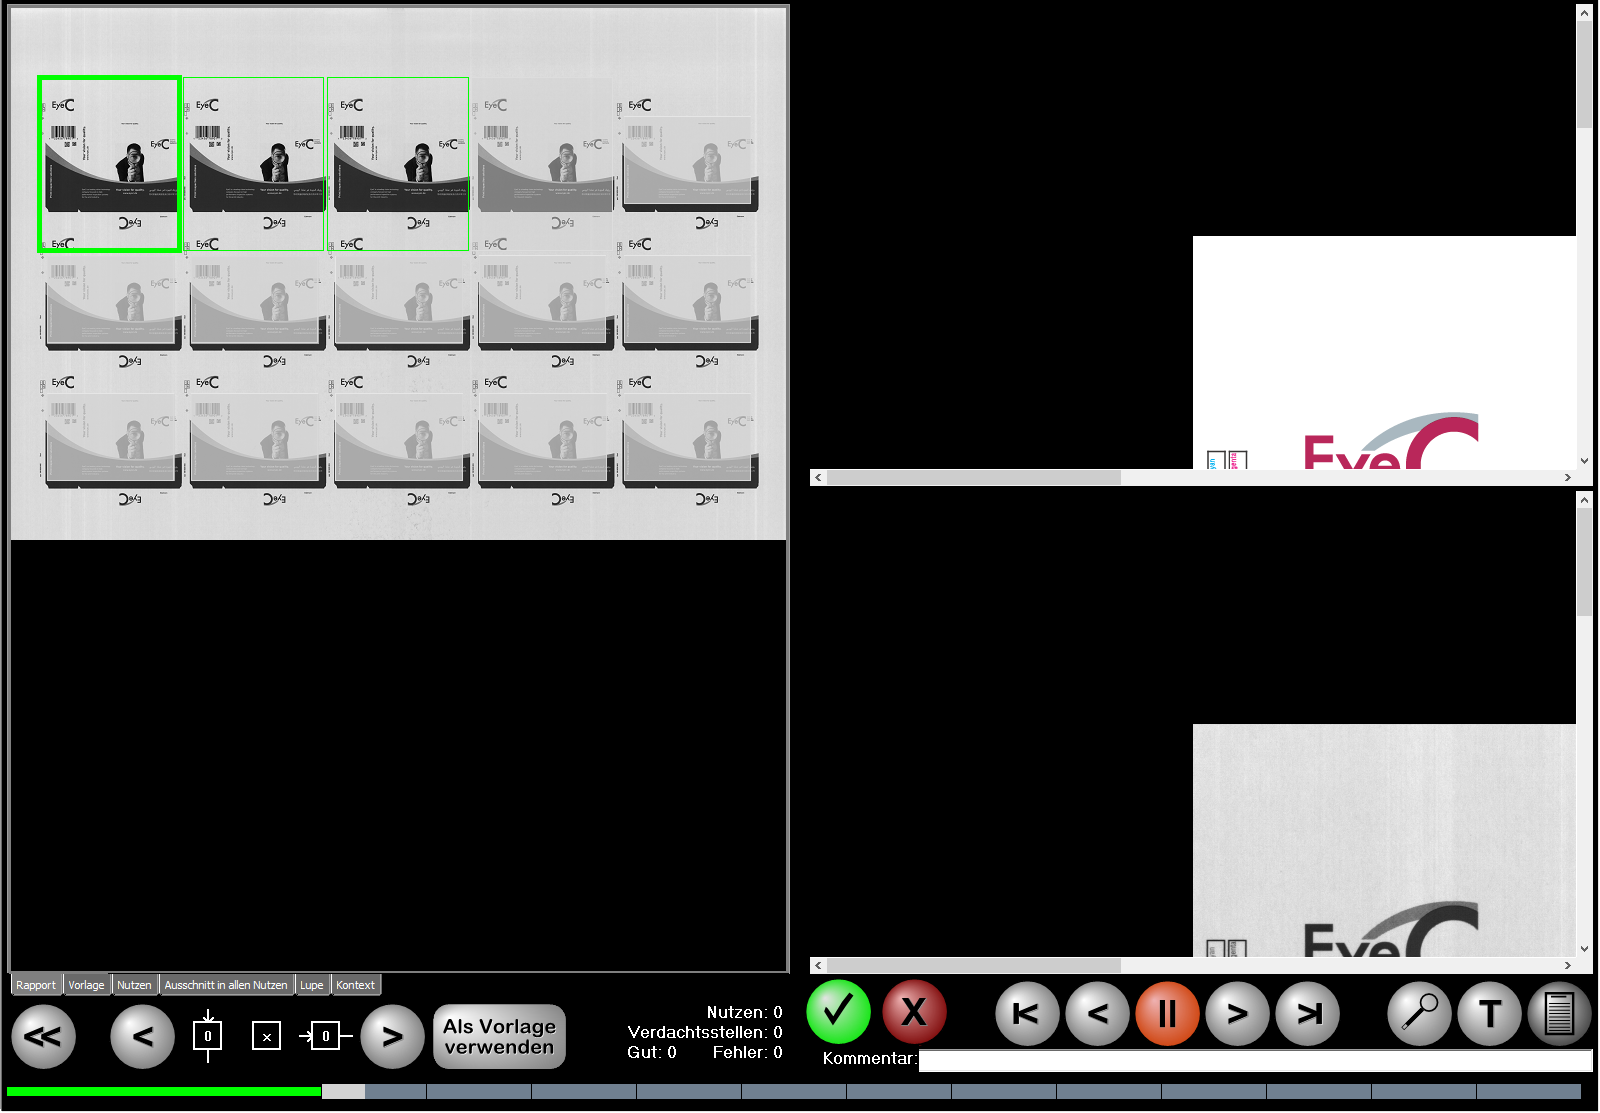
Figure 4. EyeC Proofiler - Comparison of reference sheet and PDF template 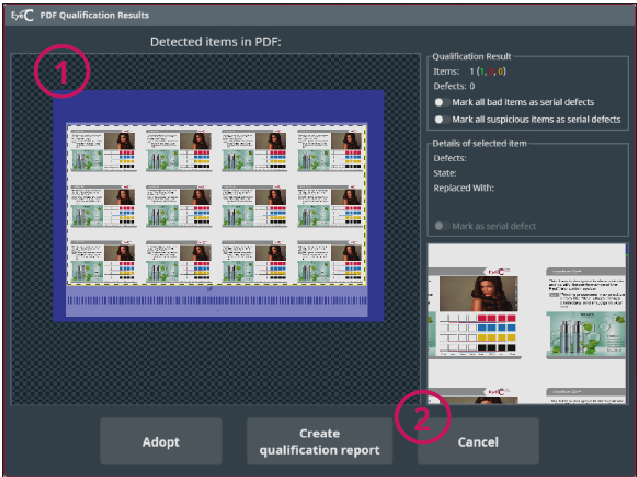
Table 1. Detected items Number Description 1 View of the reference sheet including all found items.
When suspicious areas are found, they are displayed and marked by colors:
2 
By clicking on Adopt the actually displayed sheet is used as a reference sheet.

By clicking Create qualification report a dialog appears which contains some report templates. The desired template can be marked and selcted by clicking OK. The corresponding report appears on your screen as a PDF file.

By clicking Cancel the PDF comparison is canceled.
Figure 5. Detected items -
After adopting the reference sheet, the system returns to the EyeC ProofRunner software.
The reference sheet and all items found are displayed.
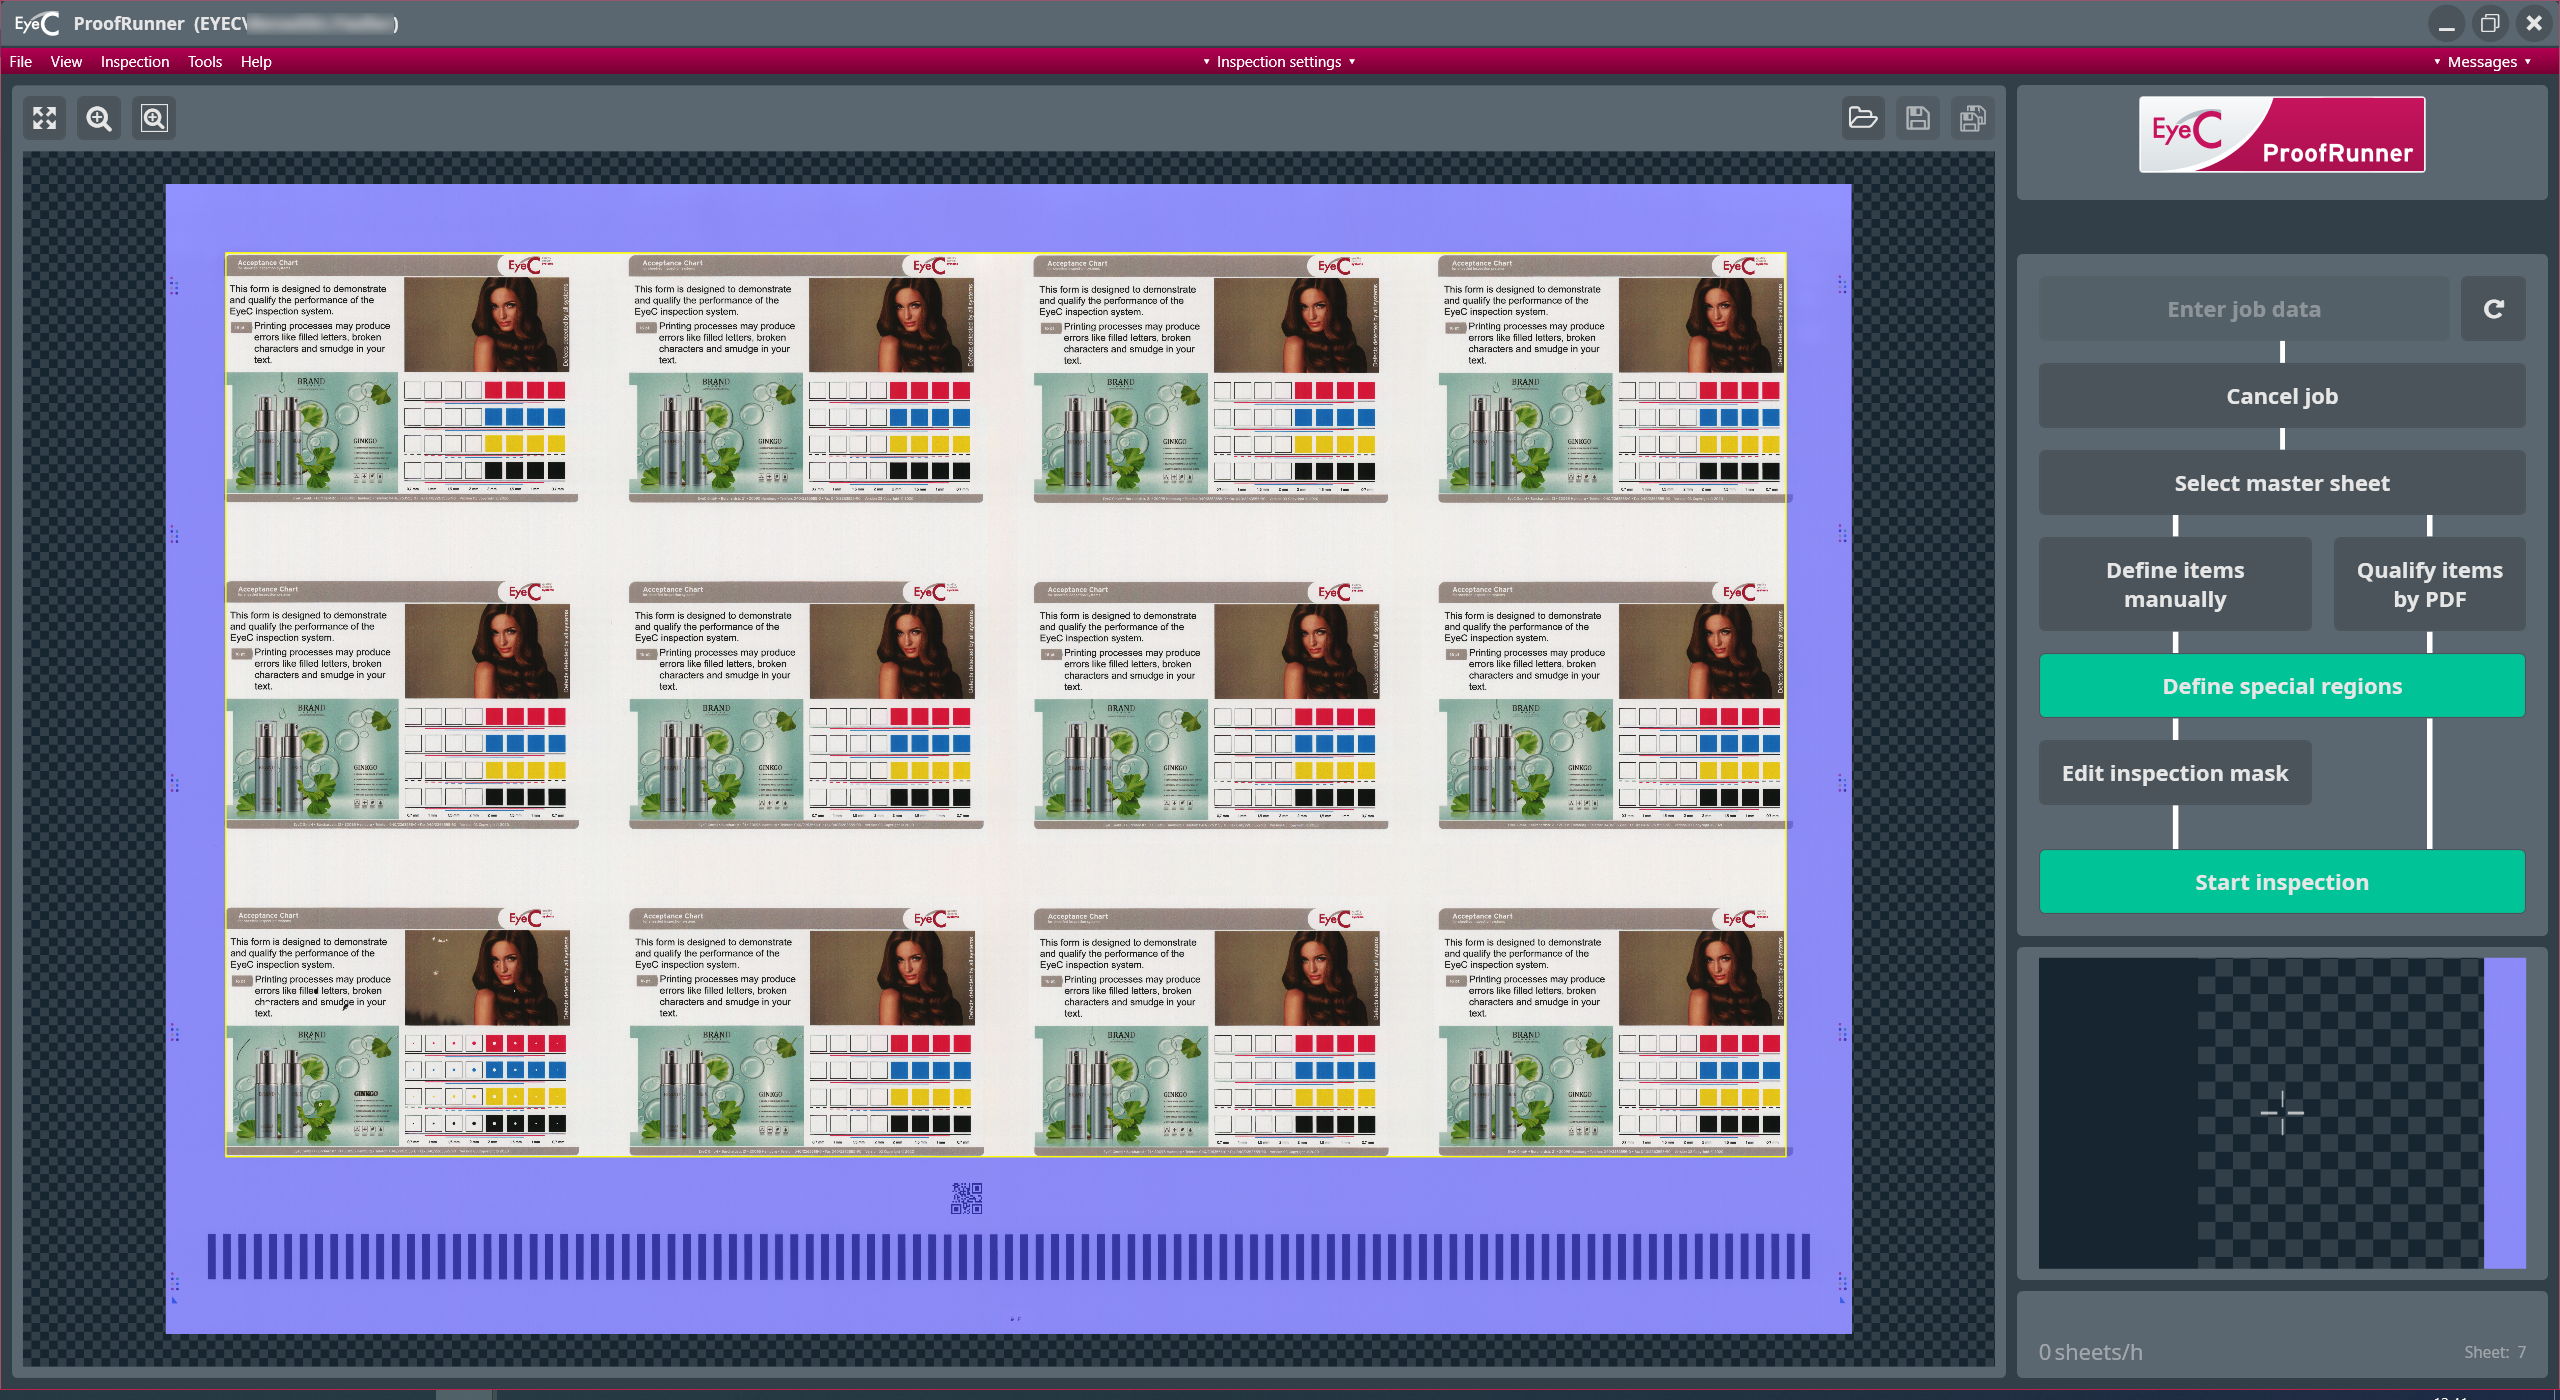
Figure 6. Reference sheet with items -
Start the inspection by clicking on the button Start inspection.
