
Creating a reference sheet without a PDF comparison
To create a reference sheet without a PDF comparison, the proof process runs until the quality of the printed product is rated good by the Operator.
| NOTICE | |
|---|---|
| NOTICE | |
|---|---|
-
When you click the Capture sheets button, the software begins with the
picture of the current print sheet.
 It appears in the bottom section of the screen.
 -
When you click the Select master sheet button, the currently displayed
sheet is chosen and displayed as a reference sheet.

- Variation X (Standard): The current sheet is recorded as a potential reference sheet.
- Variation Y: After clicking the Select master sheet
button, a window appears where you can enter manually the number of the
chosen reference sheet.
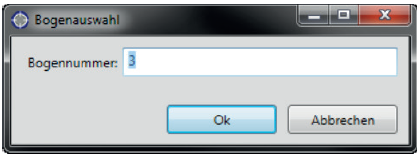
Figure 1. Sheet selection dialog
See following figure.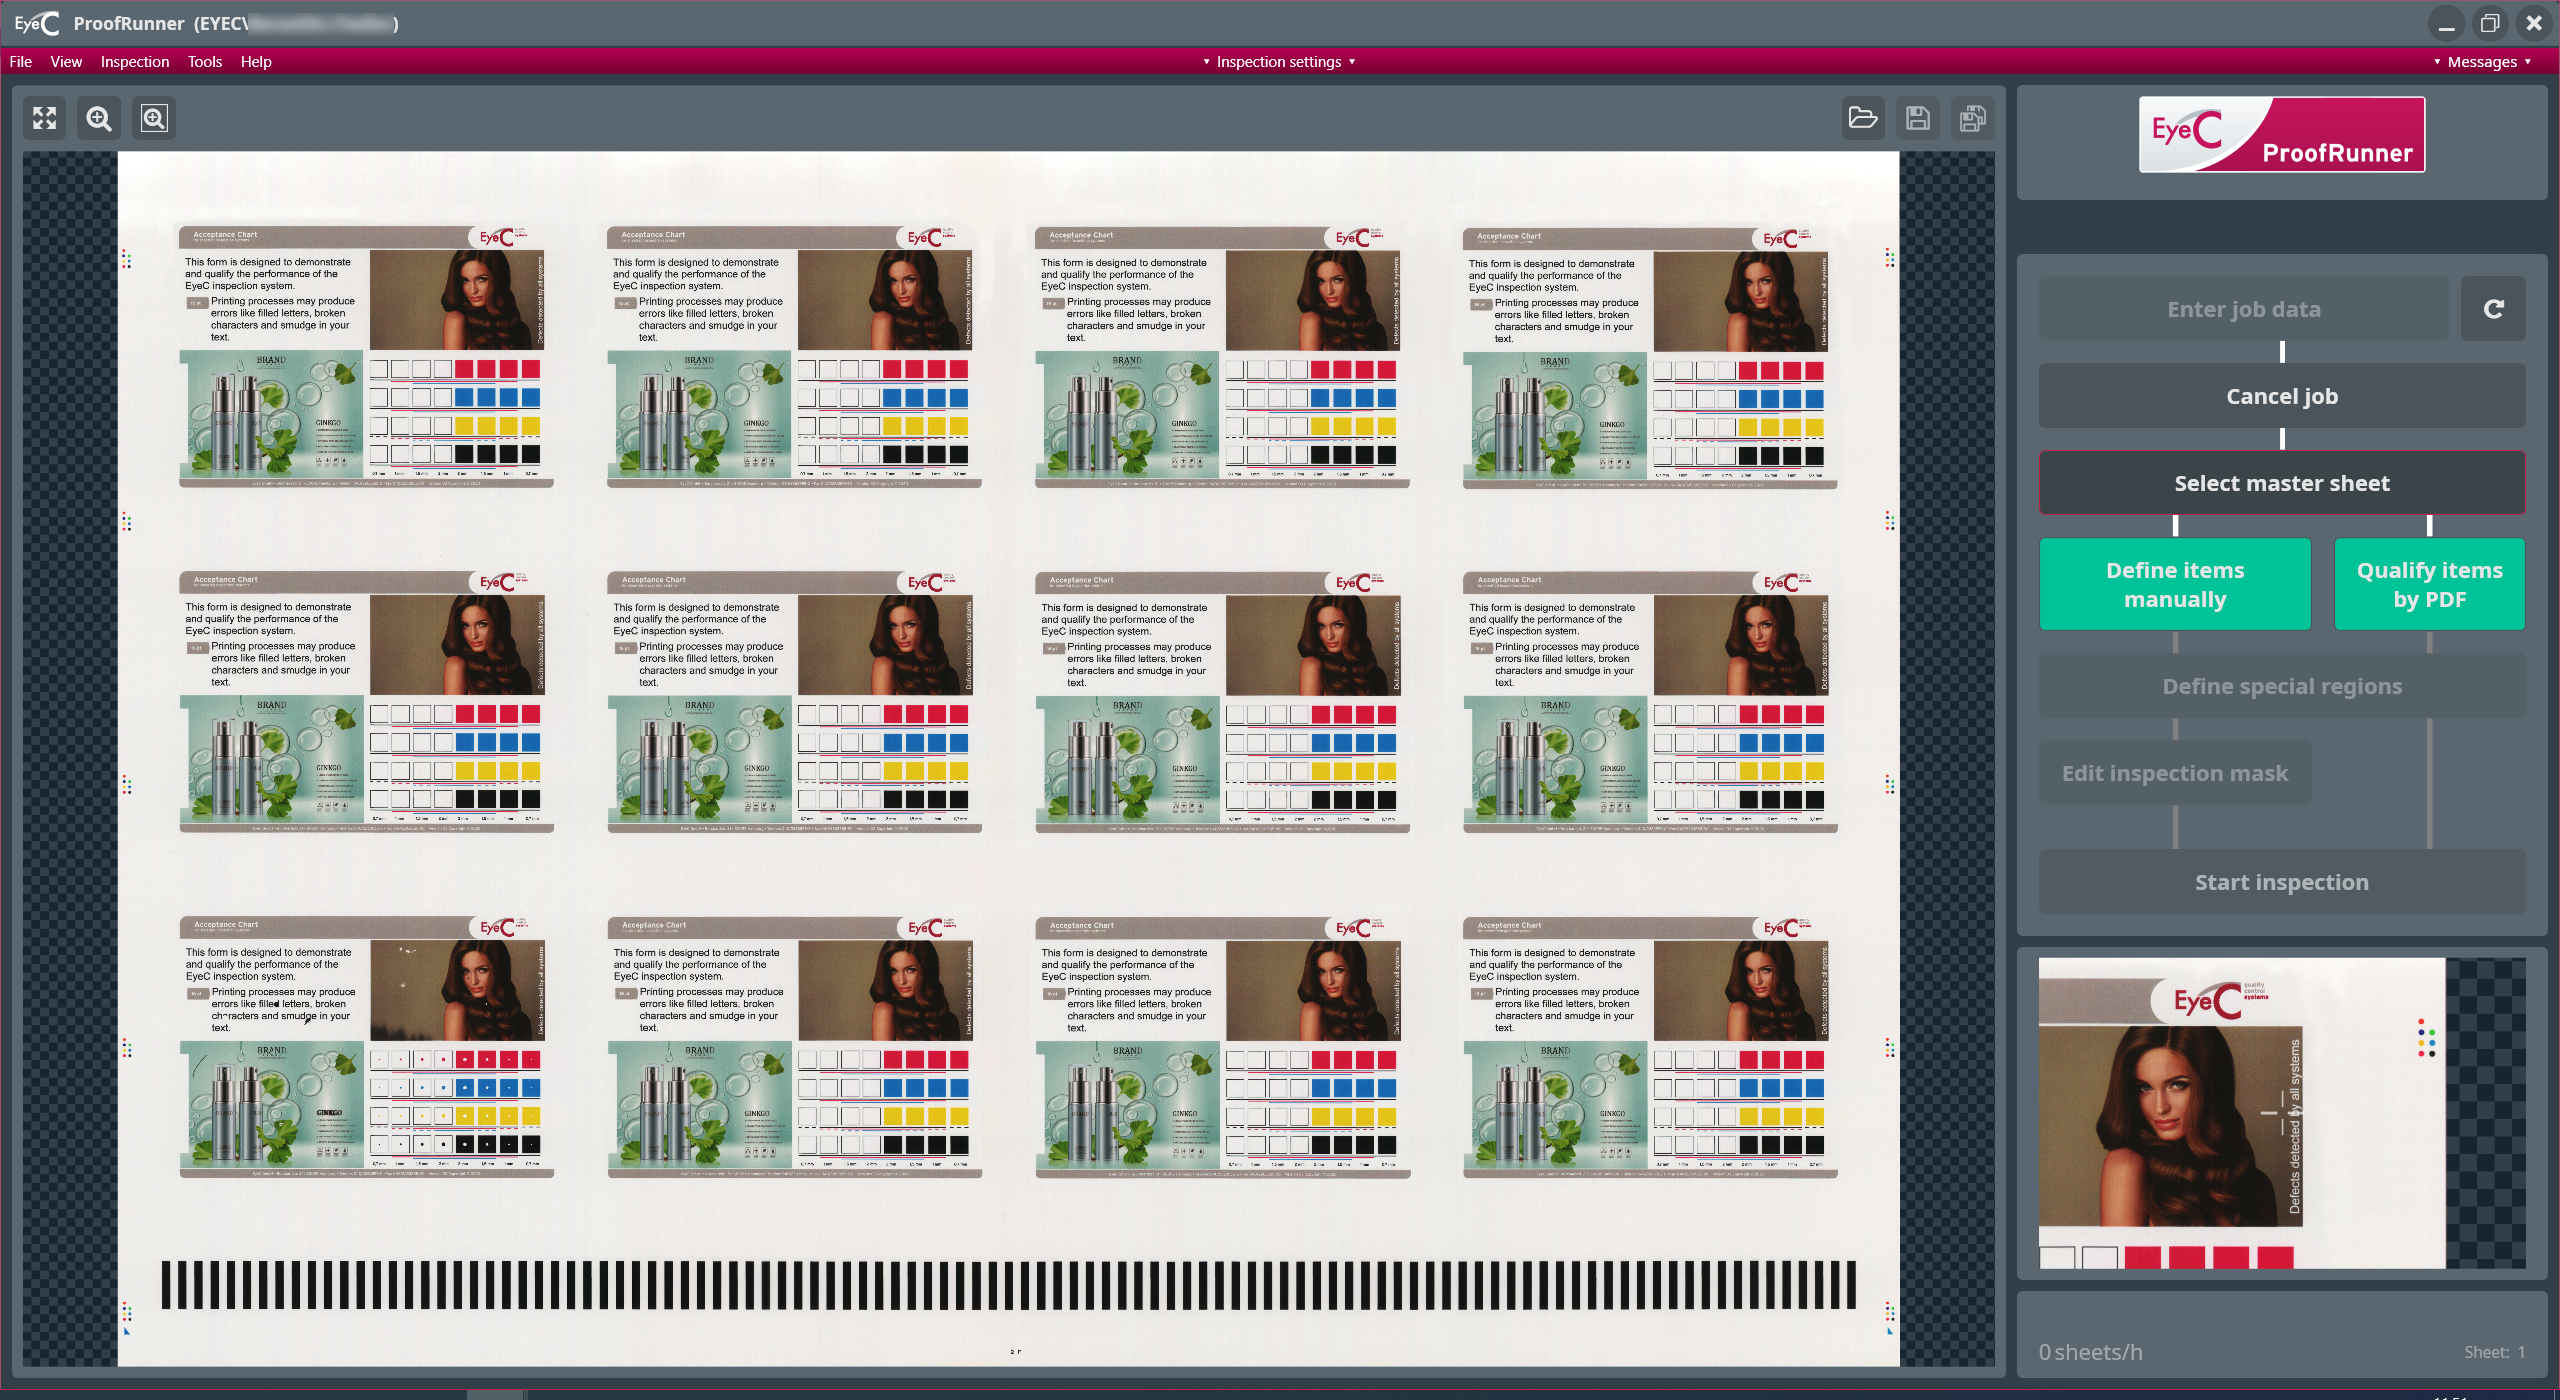
Figure 2. EyeC ProofRunner - Display of the selected reference sheet -
To define the values on the print sheet, click the Define items
manually button.
 See following figure.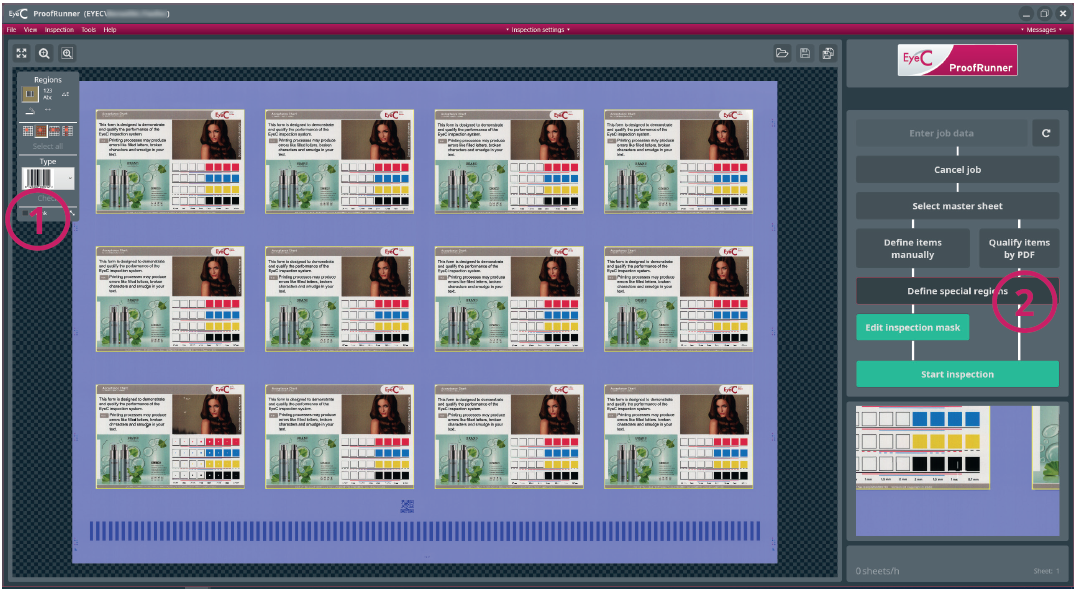
Table 1. Editing tool for manually setting the values Number Description 1 The individual items are displayed with a yellow border. When entering the job data, enter the correct items across and items along to ensure the correct counting of the items. You can change the found items by using the mouse.
In the top left of the screen (see (1)) you see different buttons that simplify the up defining. The corresponding function is displayed when the Operator rolls over the button with the mouse.
2 If you want to exclude the reference sheet from the inspection, edit the inspection mask accordingly. The necessary masking tools appear by clicking on the Edit inspection mask button (see (2)). Alternatively, you can start the inspection automatically by clicking on the Start Inspection button. Figure 3. Editing tool for manually setting the values